VANTAGE 2
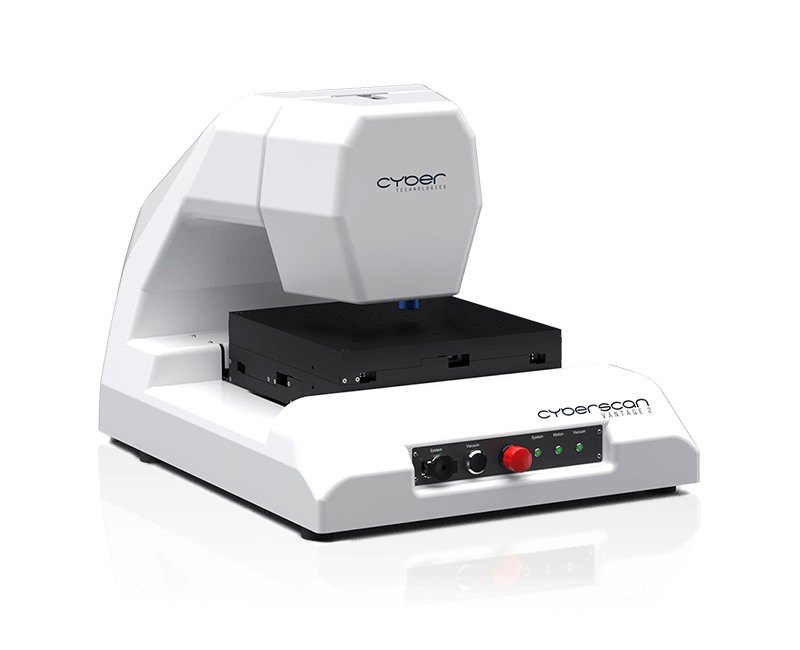
The Compact 3D Profilometer / Interferometer
Measurement and Analysis Modes
Manual / Automated
Scanning Area
200 x 200 mm²
Example Use-Cases
Ceramic substrates, solar cells, electronic components, wafers (glass) up to 8“, other parts and components within scanning area
The Metrology Standard in a Compact Design
The VANTAGE 2 is a non-contact tabletop 3D profilometer / Interferometer designed for high-accurate measurements and analysis on an area of up to 200 mm².
Technology
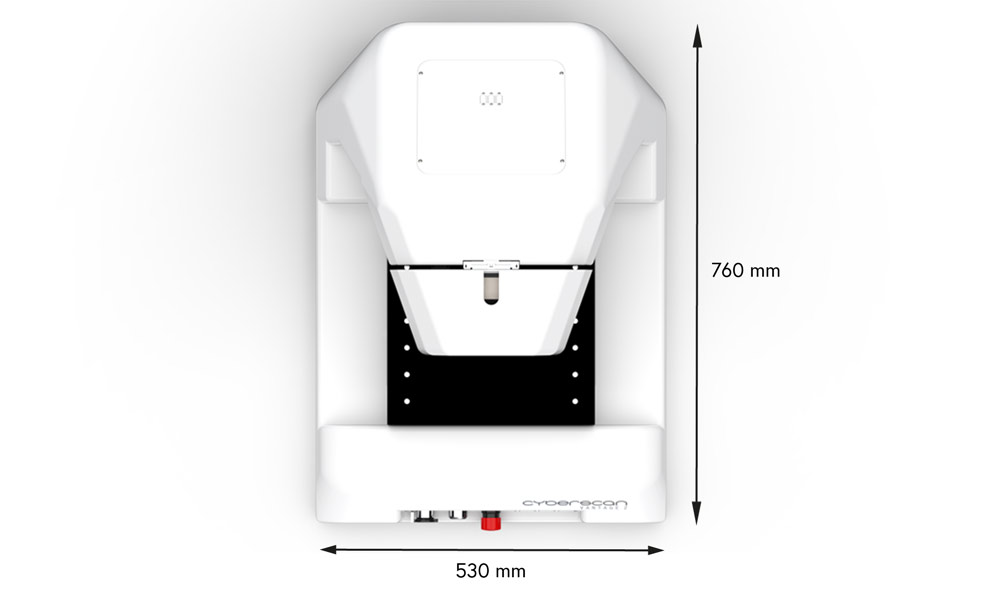
The VANTAGE 2 features an innovative, compact design that seamlessly integrates all electronics and sensors into a single, sleek housing. This smart integration not only reduces the system’s footprint but also frees up valuable space in your workspace.
The system features a 50 mm z-axis to adjust for different samples heights. The optional automated z-axis provides autofocus functionality and includes a range extender to measure heights beyond the sensor’s standard measurement range.
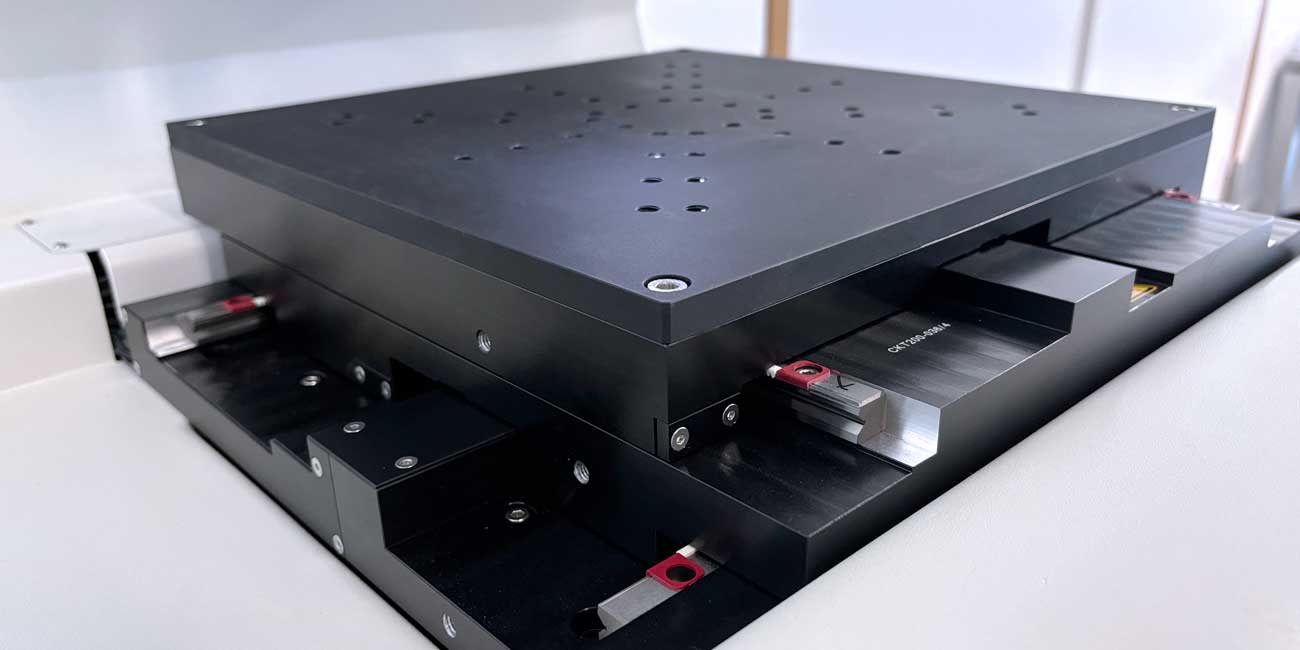
Precise lateral movement on a measurement area of up to 200 x 200 mm². Combined with a 50 nm encoder, the stage ensures pinpoint accuracy for every measurement. Enabling precise positioning and detailed lateral measurements of features. Enhance the stage with an optional vacuum chuck or a sample-specific interface to meet your unique requirements.
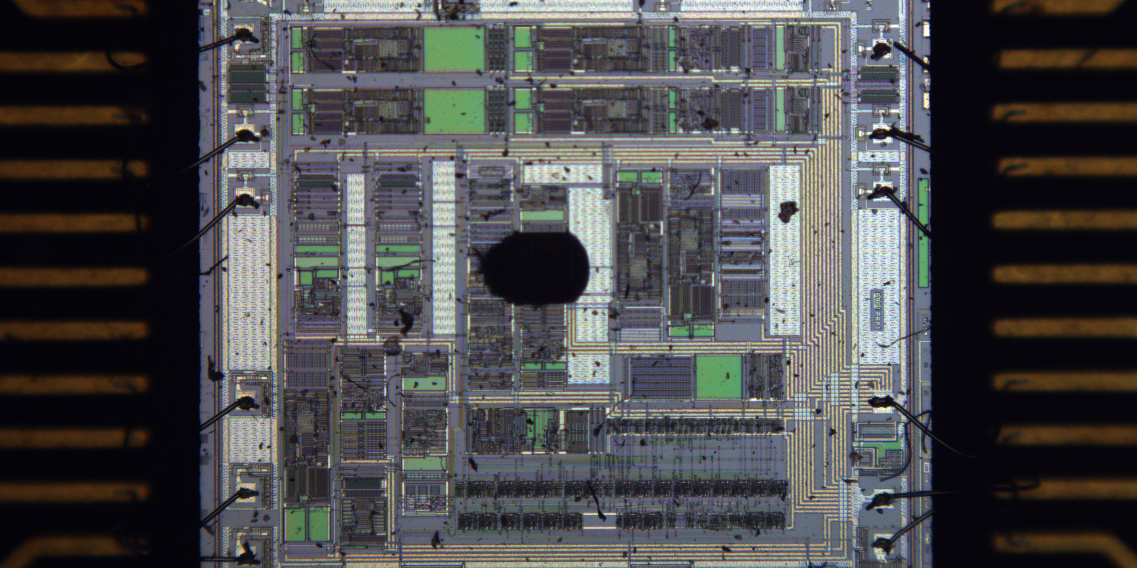
Focus on what matters. The system features a built-in camera with multiple magnification options, allowing you to easily navigate on your samples or choose the sensor’s scanning area in live view. Additionally, the camera enables quick and automated fiducial alignment.
Available Sensors
Achieve flexible measurements with the compact chromatic confocal point sensors, featuring interchangeable sensor heads and a resolution down to 8 nm.
Control the thickness of transparent and infrared-transparent materials (e.g. silicon, glass) with a resolution as fine as 1 nm.
Interested in a configuration of the VANTAGE 2?
Powerful Analysis
& Automation
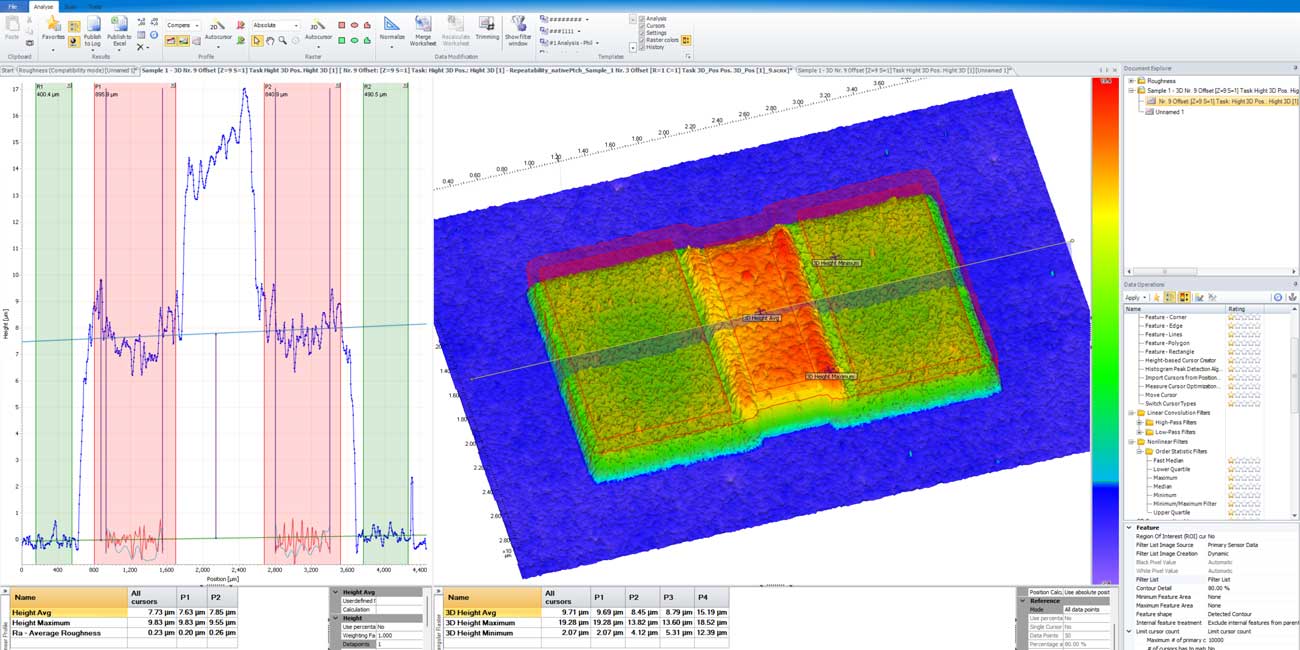
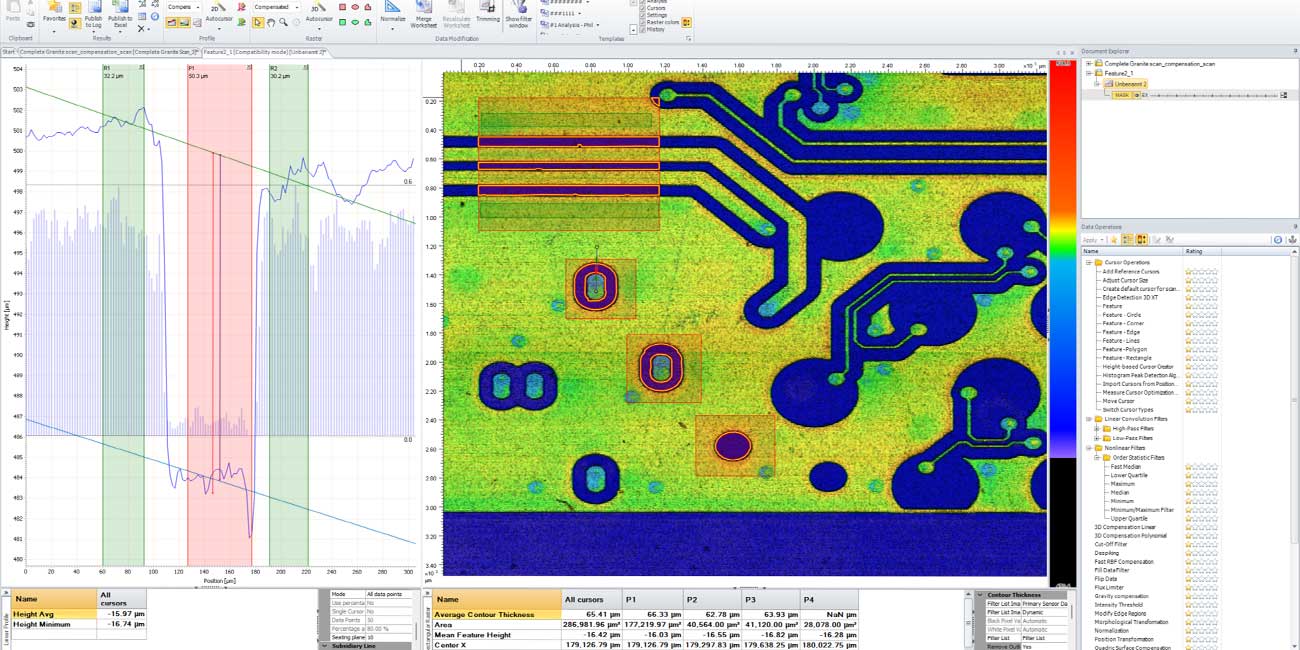
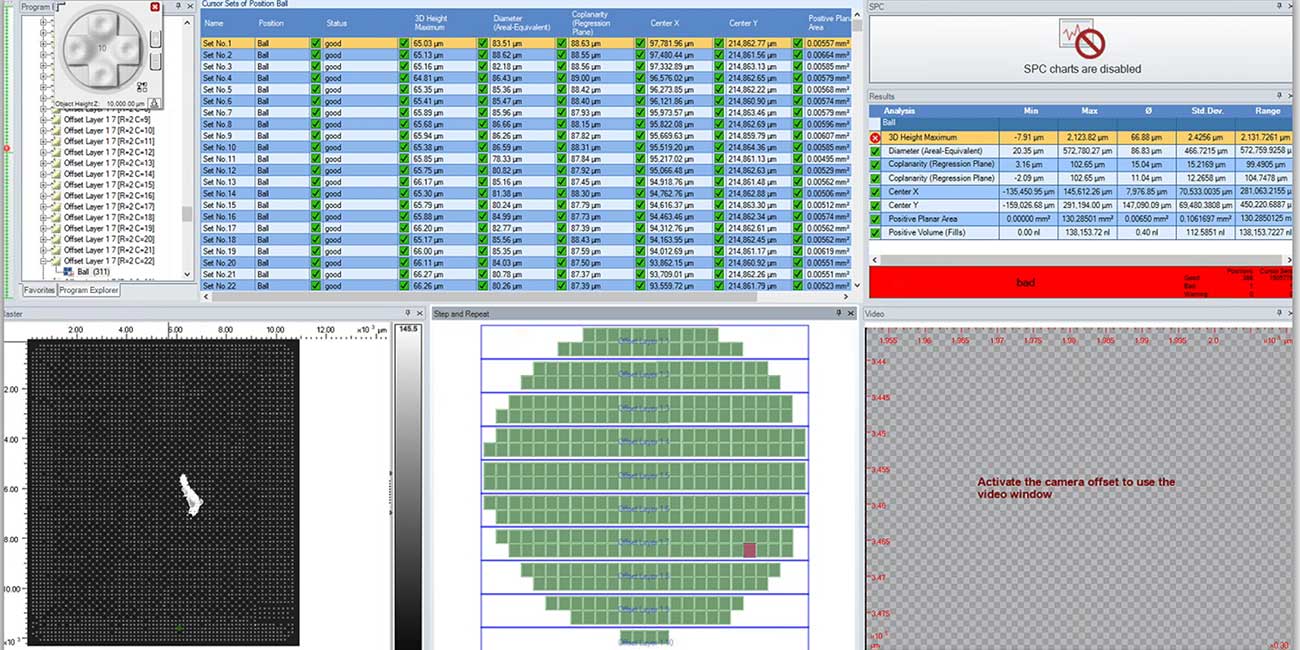
Application Examples
The VANTAGE 2 offers a confocal point sensor or interferometer for a vast variety of 3D measurements and analysis.
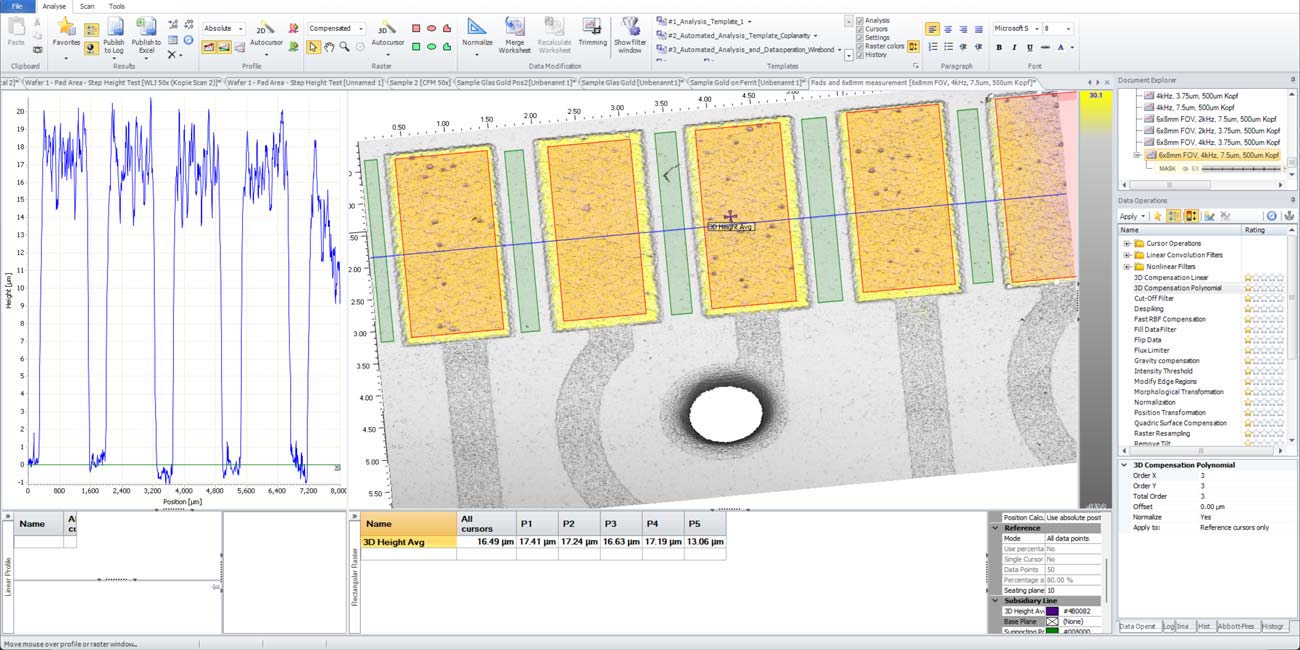
Height
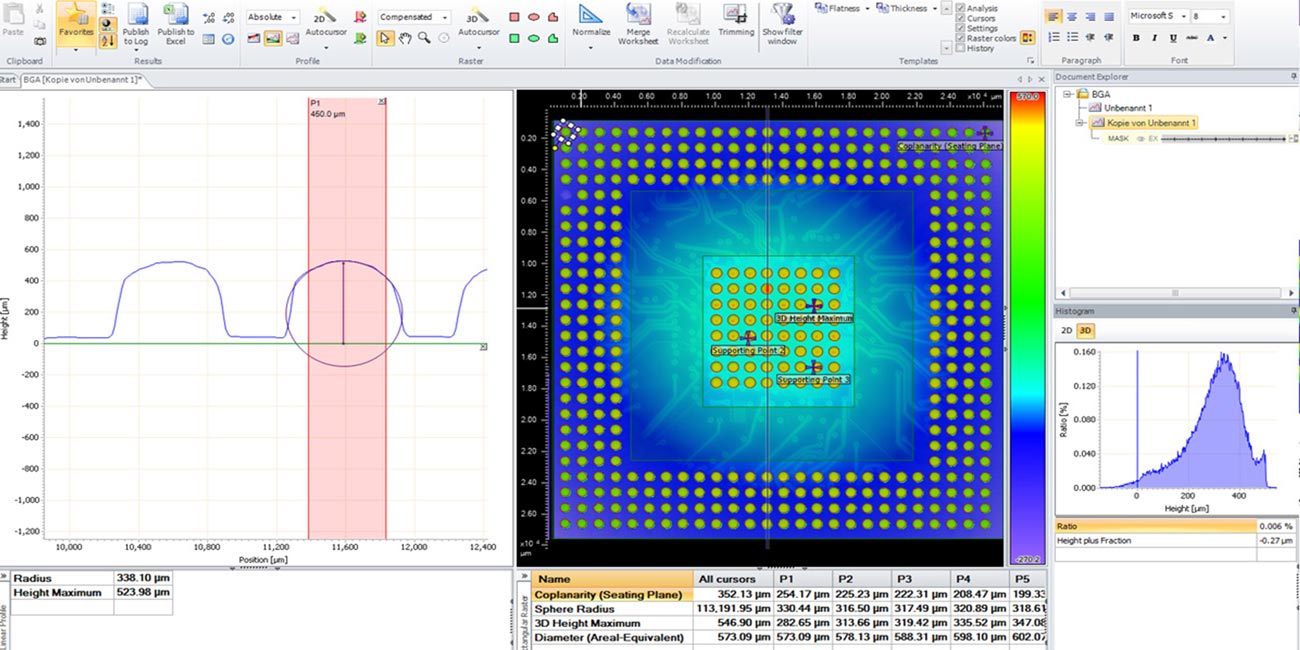
Coplanarity
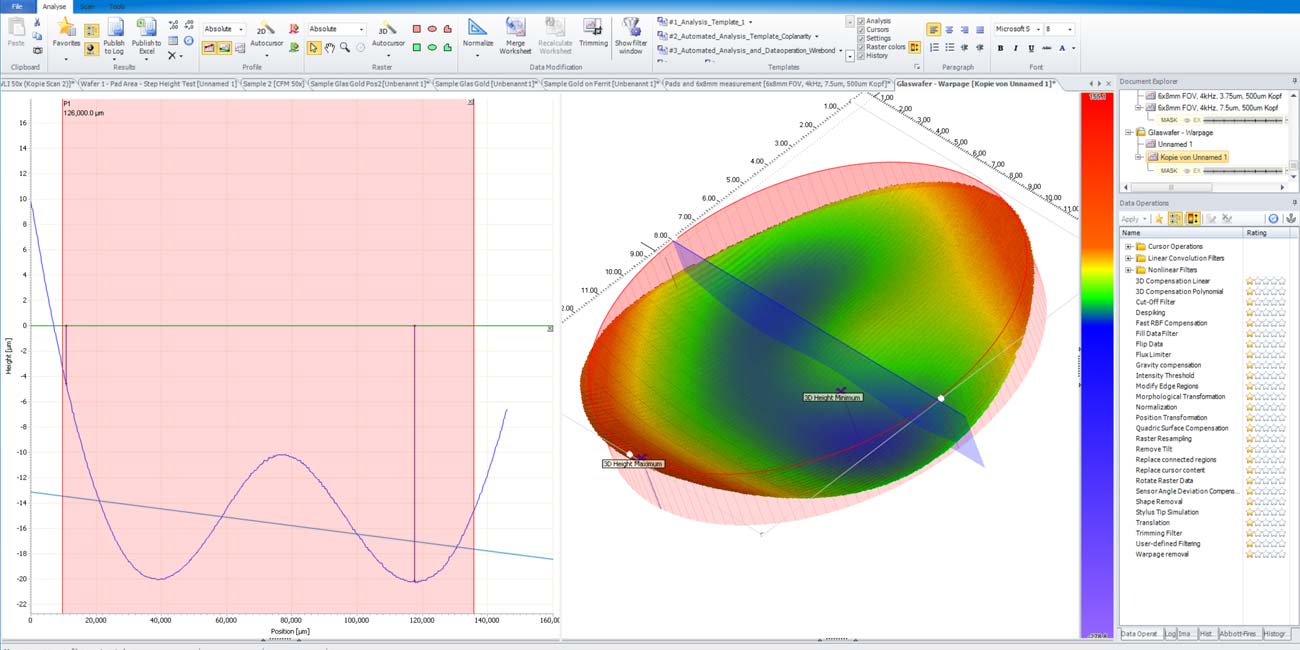
Flatness, Warp & Bow
Options
The VANTAGE 2 offers a variety of expansion options, including a software-controlled vacuum chuck and calibration targets, allowing you to certify your system independently.
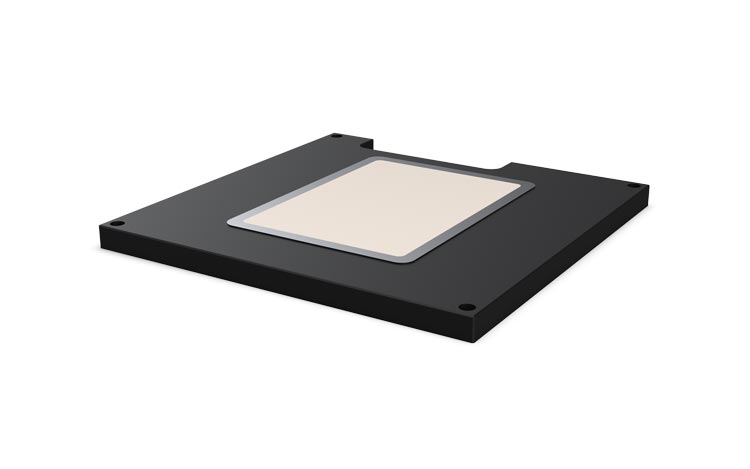
Vacuum Chuck
Ensure optimal sample fixation with a flatness of less than 5 µm across the entire 200 mm² surface. Software-controlled for effortless operation, the design is fully customizable to meet your specific sample needs.
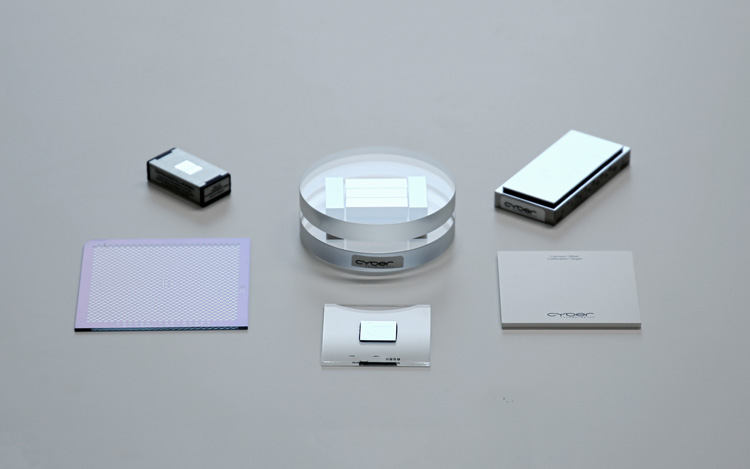
Calibration Targets
Calibrate and certify the system anytime with ease. A wide selection of calibration targets and built-in automated procedures make the process fast and easy.
Configuration Example
VANTAGE 2 with Vacuum Chuck
The VANTAGE 2 features a chromatic confocal sensor and a vacuum chuck to securely hold or straighten samples. Offered in a standard 200 x 200 mm² size or a custom design tailored to your requirements.
General
cyberTECHNOLOGIES GmbH
Georg-Kollmannsberger-Straße 3
85386 Eching-Dietersheim
Germany