Analyze every detail
From wafers to piston rings and pacemakers, precision is essential in every detail. Our high-precision measurement systems provide fast, non-destructive roughness analysis of your specific objects, even for delicate or wet surfaces.
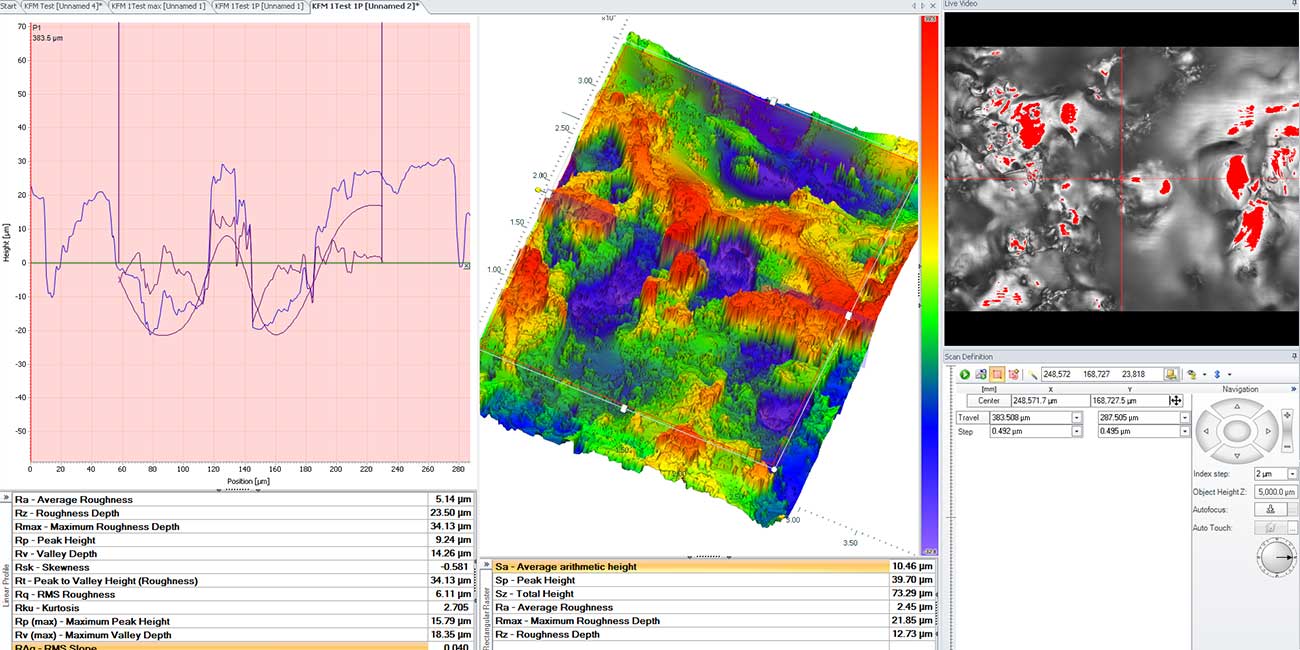
Roughness Analysis
From wafers to piston rings and pacemakers, precision is essential in every detail. Our high-precision measurement systems provide fast, non-destructive roughness analysis of your specific objects, even for delicate or wet surfaces.
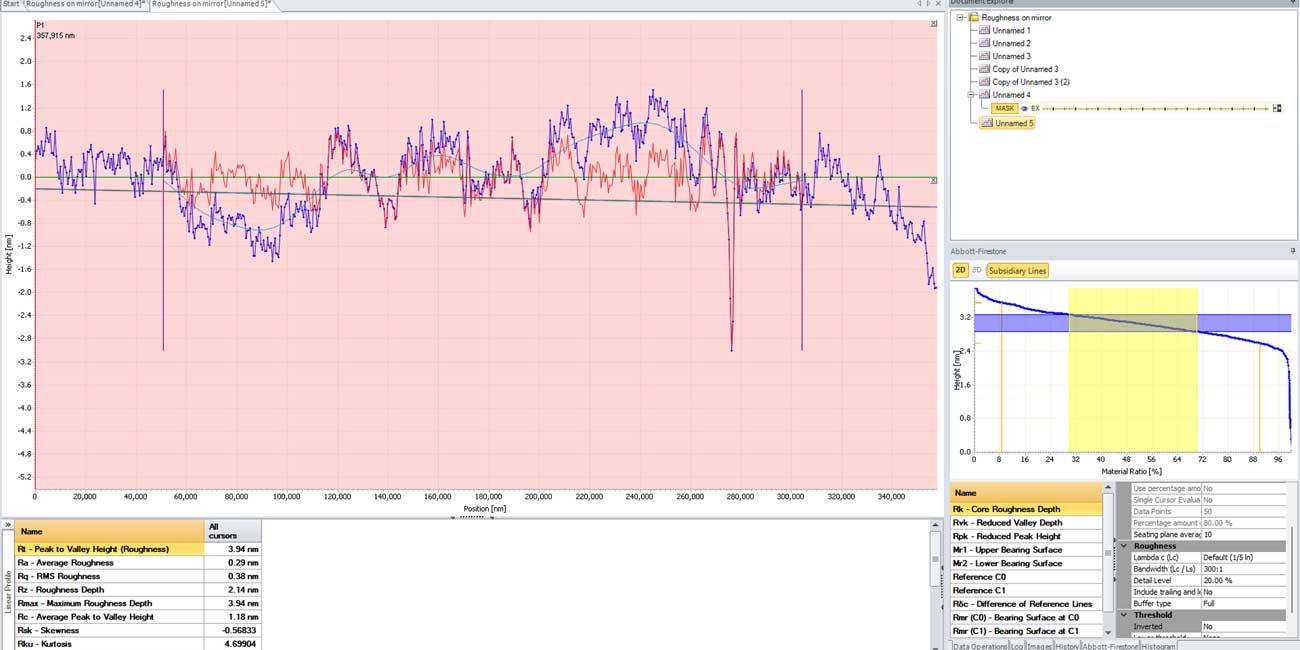
2D-Roughness (R-Parameter)
With our profilometry, you can determine roughness in seconds, whether you’re interested in average roughness (Ra), roughness depth (Rz), or total profile height. Our manual software, ScanCT, allows you to do this with just a few clicks. Alternatively, you can automate and simplify your measurements with ASCAN.
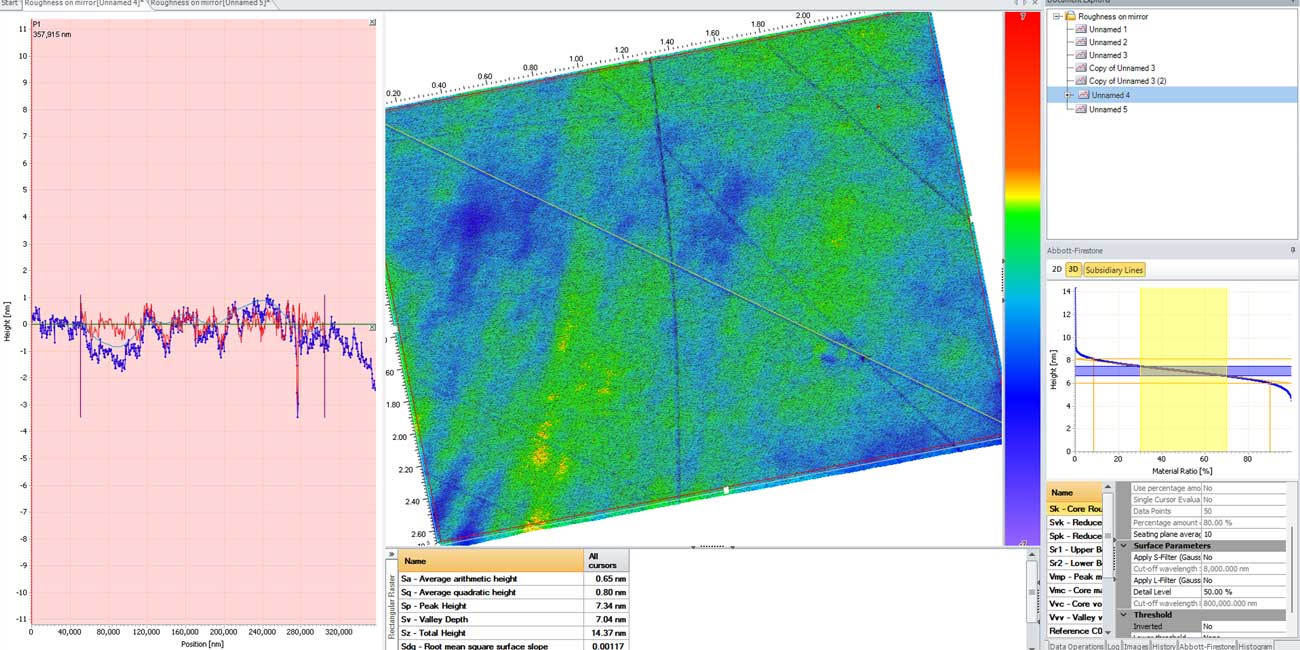
3D-Roughness (S-Parameter)

R-Parameter on an area

Stilus tip simulation
Automated you roughness measurements with ASCAN

Have question about your roughness measurements.
Non-Contact Measurement
For roughness values below Ra 0.25, our systems can be equipped with white light interferometers for highly accurate measurements. For higher roughness levels, our systems can be used with chromatic confocal sensors, ensuring comprehensive coverage across a wide range of roughnesses. Always non-contact and non-destructive.
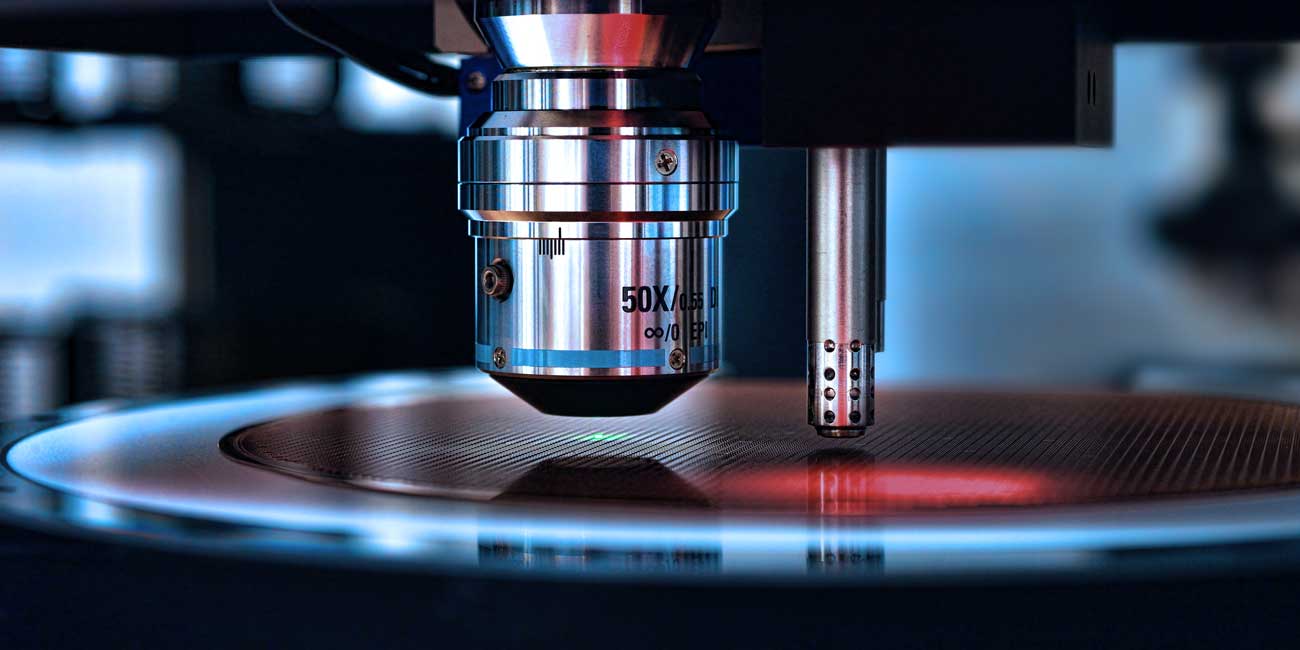
Chromatic Confocal
For roughness measurements as fine as Ra 0.25, chromatic confocal sensors offer the perfect balance of high-speed and accuracy across nearly all surfaces and materials

3D White Light Interferometer
For smooth surfaces, our White Light Interferometer delivers Z-resolution as fine as 0.1 nm, enabling precise roughness measurements on polished wafers, mirrors, and other extremely smooth materials.
Examples
With our wide range of sensor technologies, roughness can be accurately measured on nearly any material with resolutions down to 0,1 nm.
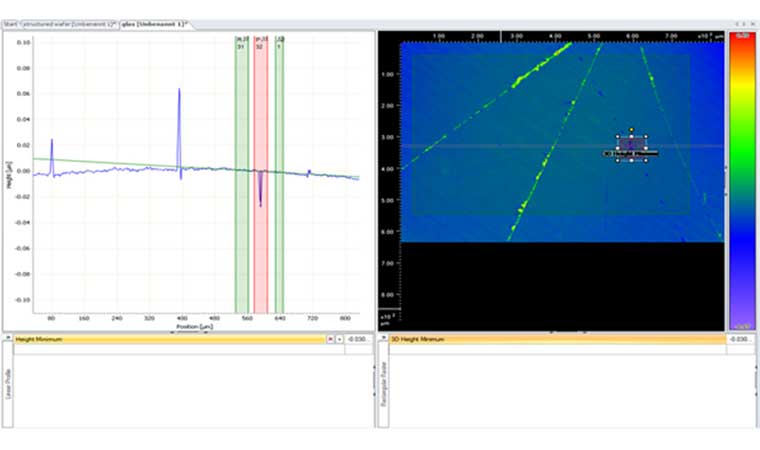
Wafer
Tiny scratches, minute defects, or holes – we specialize in roughness measurements on polished wafers with a resolution of up to 0.1 nm in the z-axis and a lateral resolution of up to 0.23 µm.
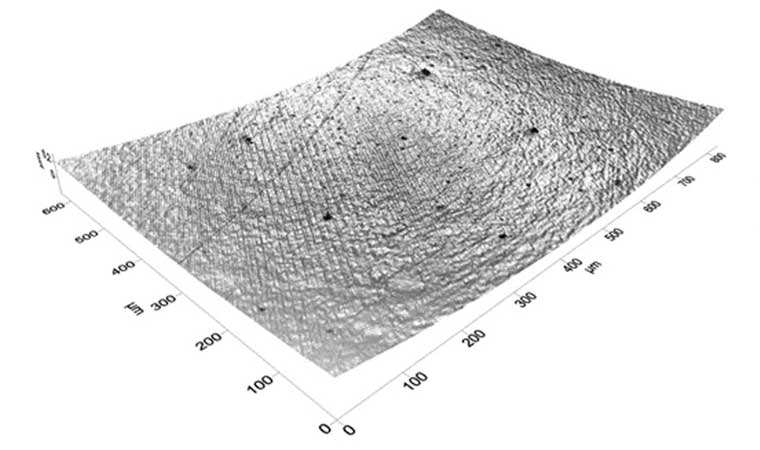
Glass
A white light interferometer (WLI) sensor is used to measure very smooth surfaces. This method is ideal for materials such as glass or mirrors.
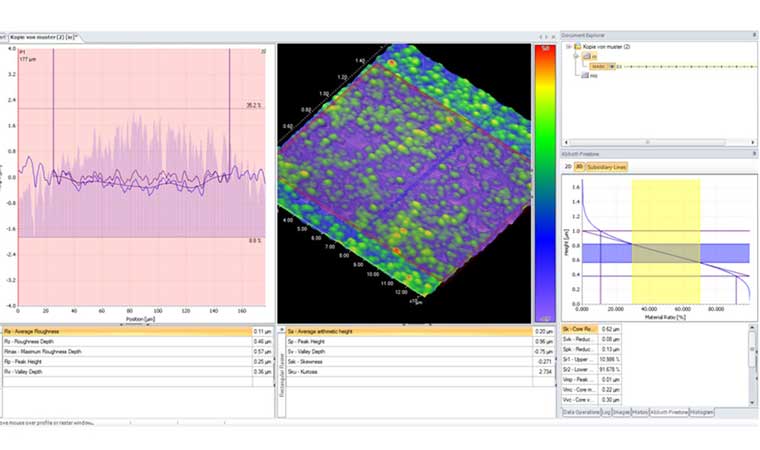
Gold Surface
With up to 1.15 million data points per second, chromatic confocal white light sensors are ideal for 3D roughness measurements on larger surfaces. Additionally, they offer a resolution of up to 3 nm.
Other Applications
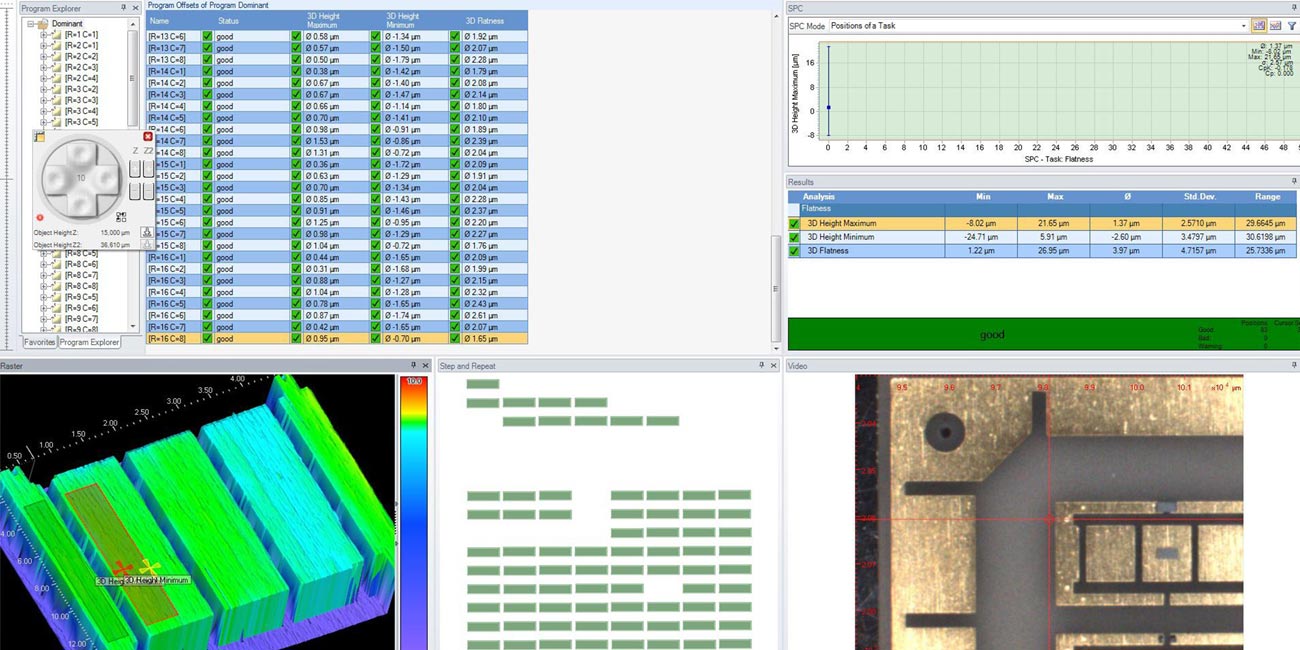
Coplanarity
Evaluate coplanarity using regression or seating-plane analysis and inspect bumps, balls (BGAs), pins (PGAs), pads (LGAs), leads, SMDs, and other electronic components for coplanarity and additional parameters.
Roughness
Measure roughness on various materials and perform detailed analysis in both 2D (R-parameters) and 3D (S-parameters). All in accordance with DIN and ISO standards.
Let's discuss your needs to find the best solution for you.
General
cyberTECHNOLOGIES GmbH
Georg-Kollmannsberger-Straße 3
85386 Eching-Dietersheim
Germany
