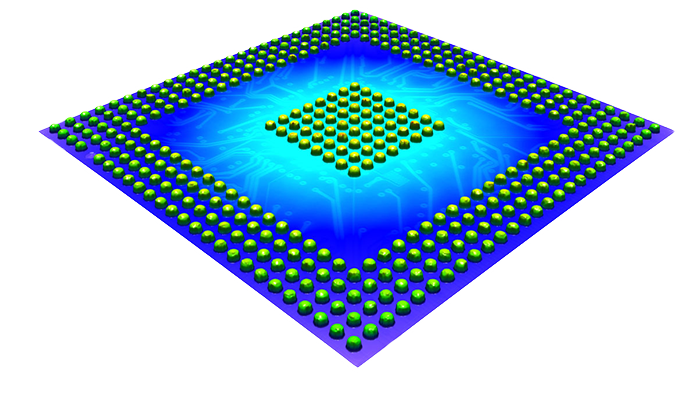
Detect smallest height differences
Coplanarity is essential for many products. Accurately measure and analyze bumps, balls (BGAs), pins (PGAs), pads (LGAs), leads, SMDs and other electronic components for coplanarity using a seating or regression plane analysis.
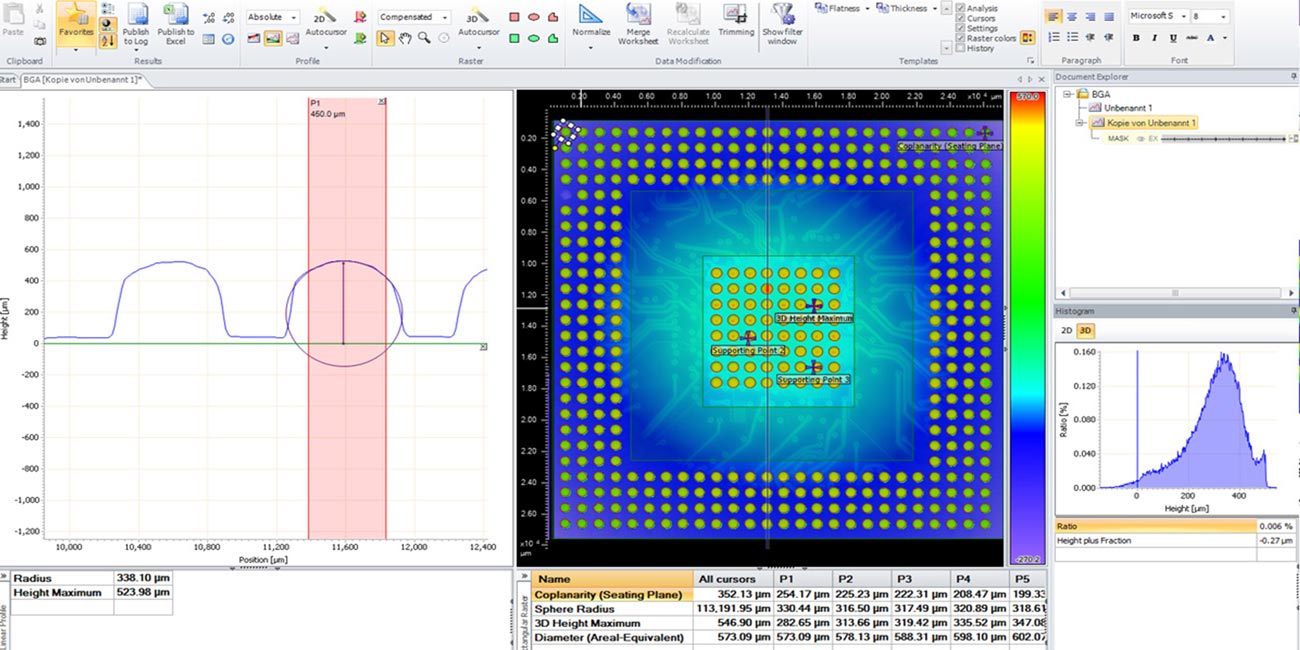
Coplanarity Analysis
All bumps, leads, pads or any features can be detected automatically based on height, reflectivity or by importing coordinates.
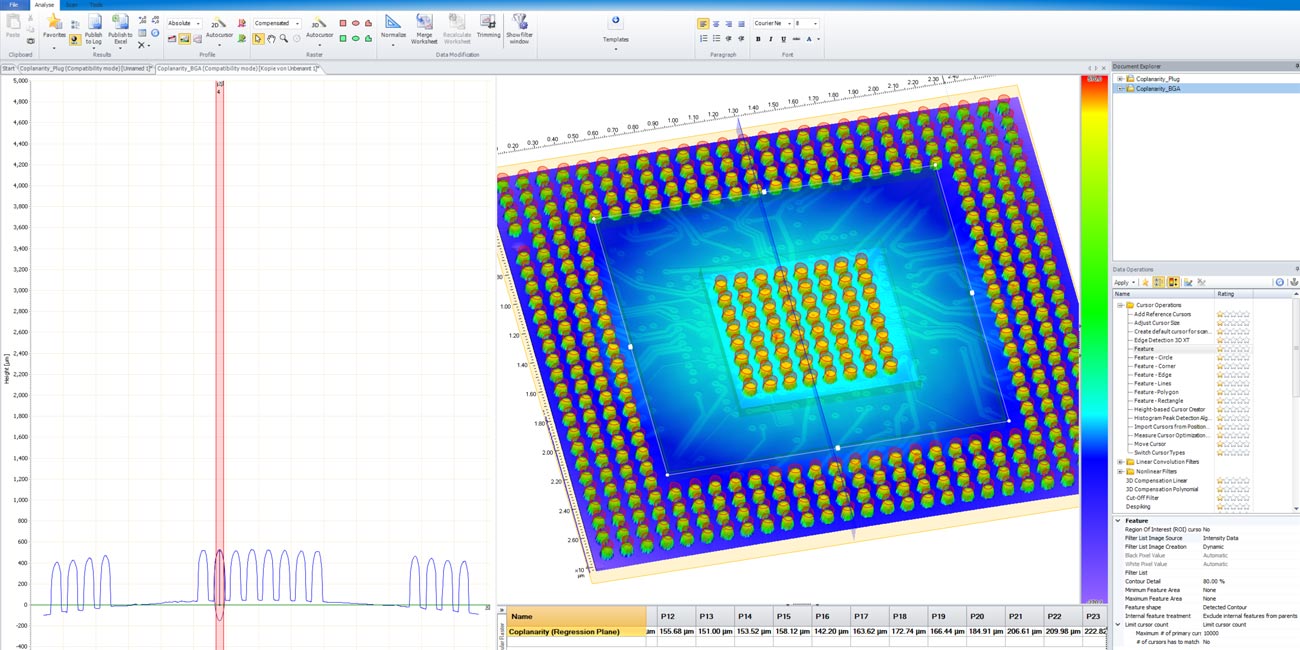
Coplanarity (Regression plane)
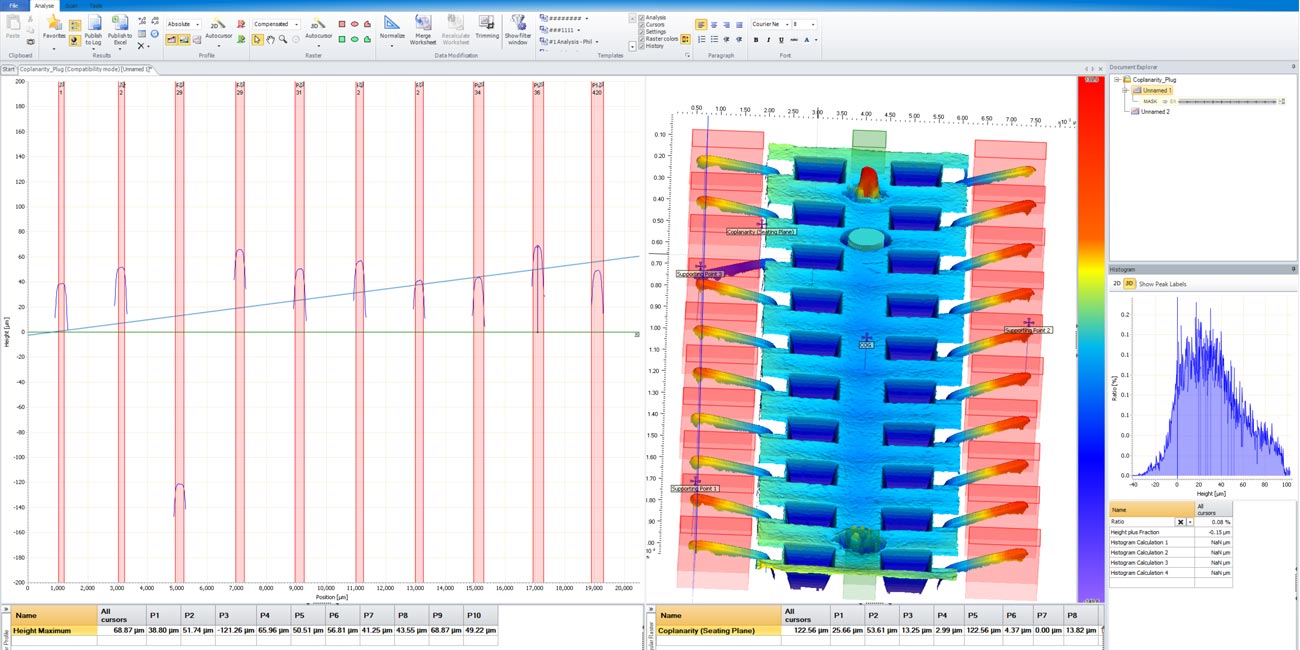
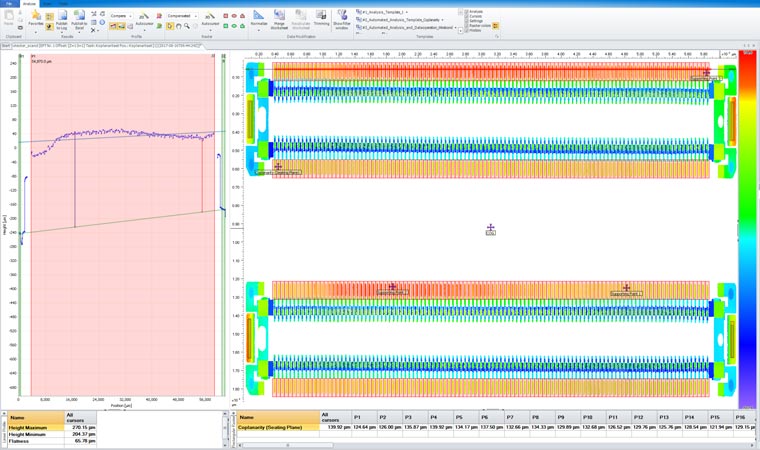
Coplanarity (Seating Plane)
Coplanarity based on the seating plane is calculated by defining a plane created by the three highest points that surround the center of gravity while avoiding intersection with other components. All this is done automatically and the center of gravity can be easily adjusted if needed.
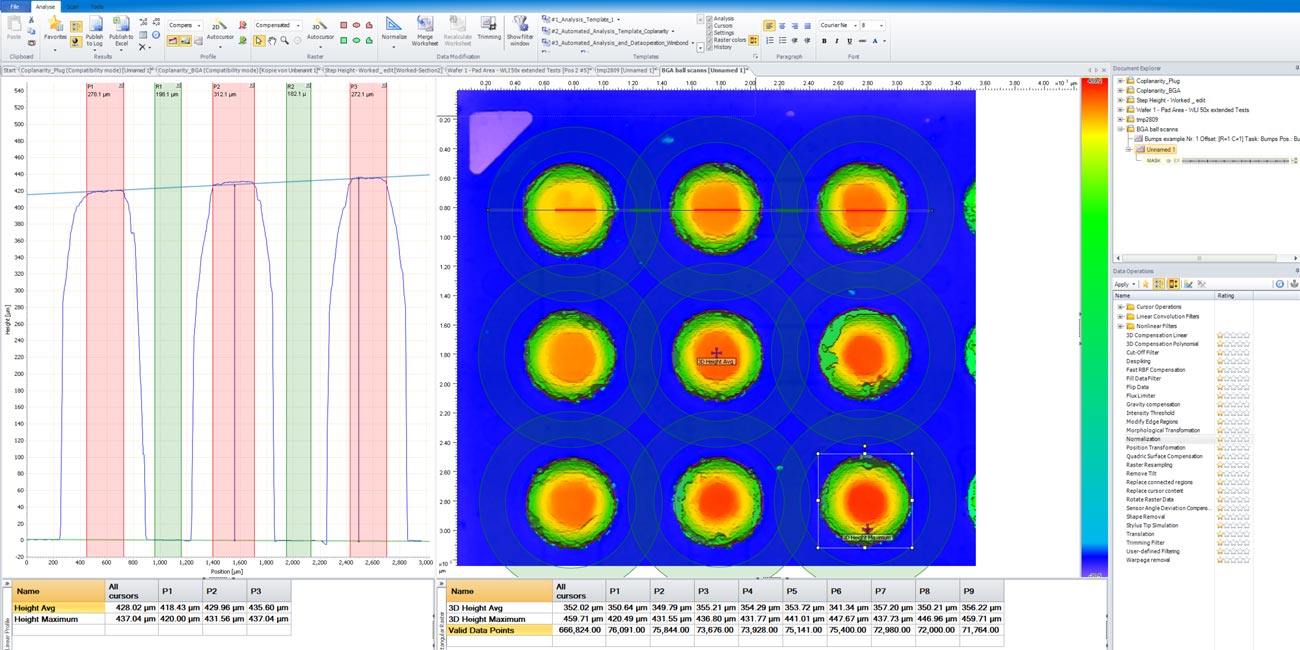
(Local) Height
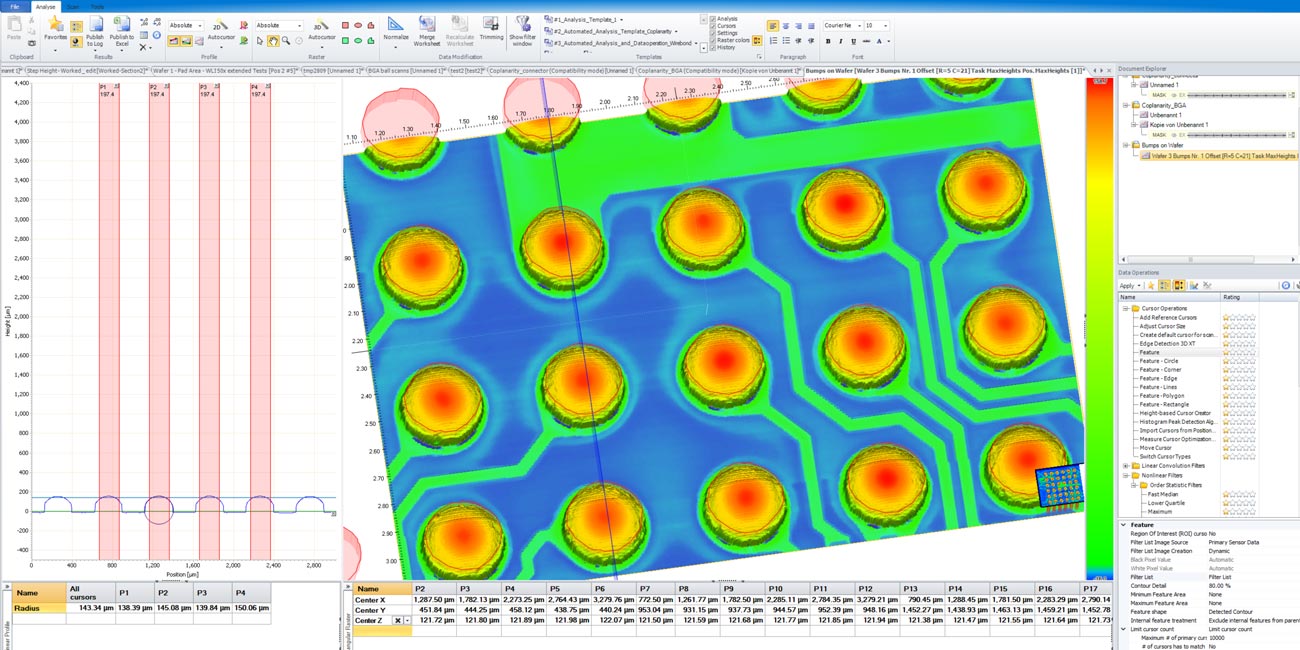
Position
Automate your Coplanarity measurements with ASCAN
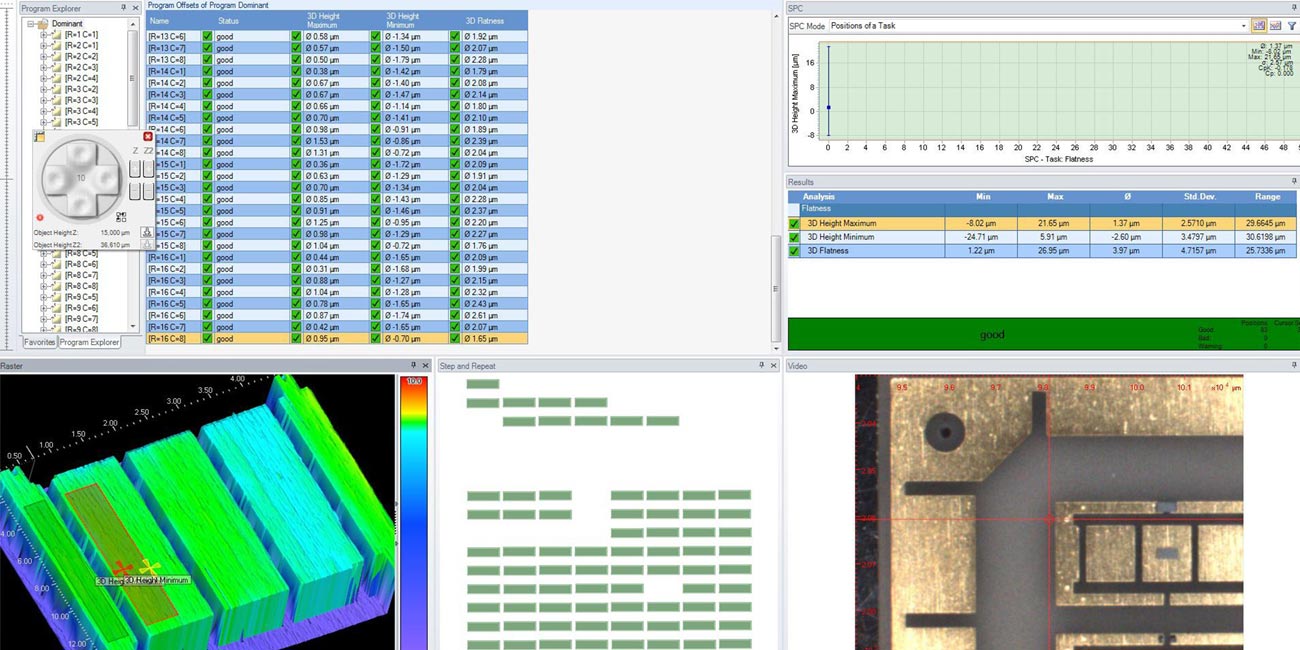

Do you have question about your Coplanarity measurements?
Non-Contact Measurement
Our metrology systems offer a wide range of optical sensor technologies, enabling measurement capabilities at nanometer-level resolution. For coplanarity measurements chromatic confocal sensors, confocal microscopy or white light interferometry can be used.
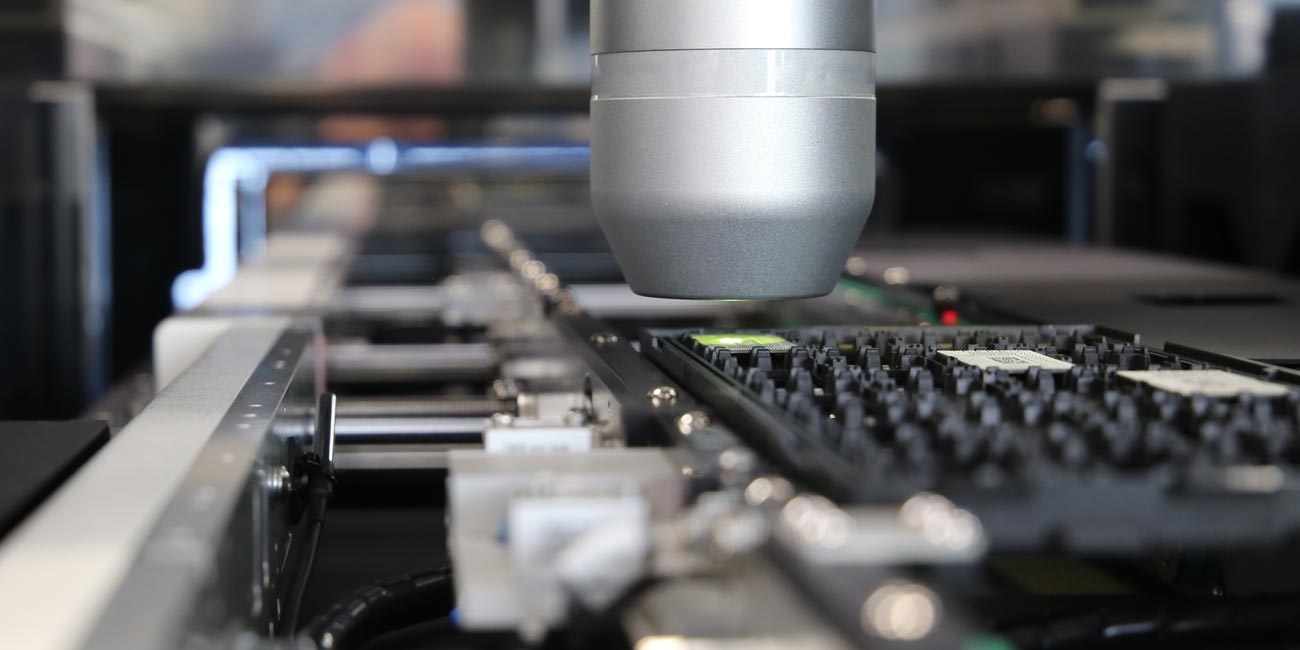
Chromatic Confocal Sensor
Chromatic confocal sensors capture millions of measurement points per second with Z-resolution as fine as 3 nanometers. They are ideal for coplanarity measurements and work effectively on nearly any material, whether highly reflective or low-reflective. This makes them a top choice for fast, accurate measurements over small and large surface areas.
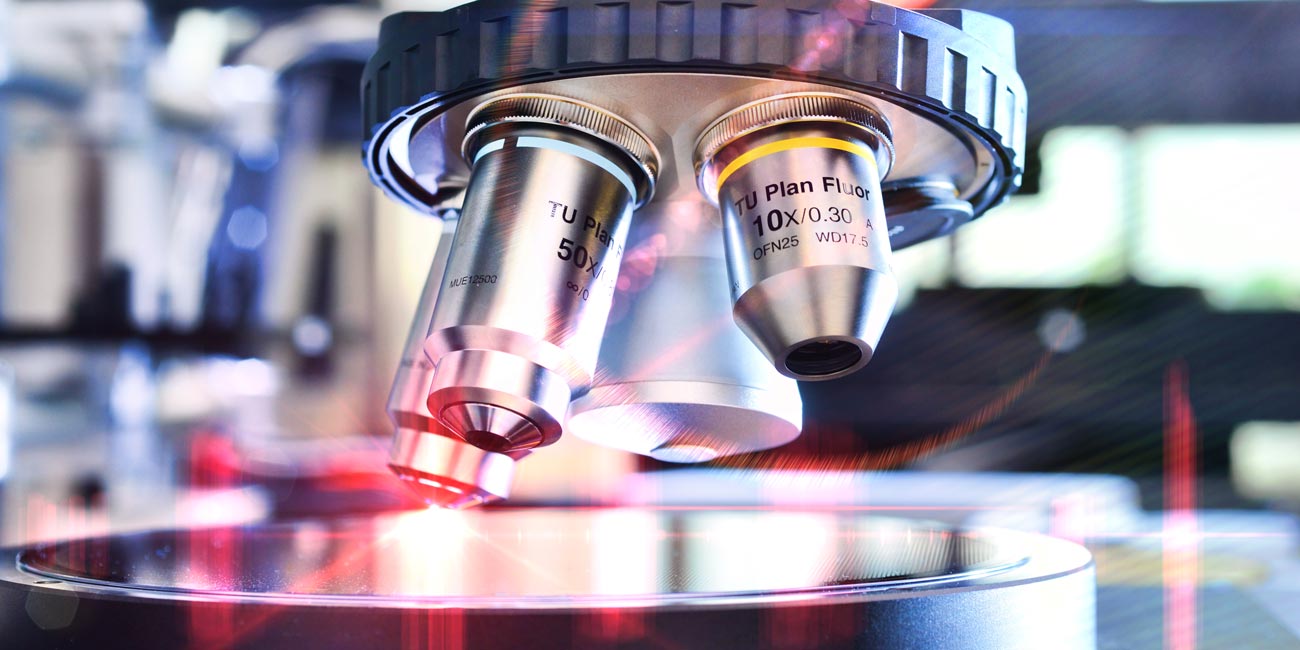
Confocal Microscope
Measure and analyze small bumps with resolutions down to 1 nanometer. Easily switch between different field of view of views and resolutions using an automatic objective turret for seamless objective changes in manual and automatic mode.
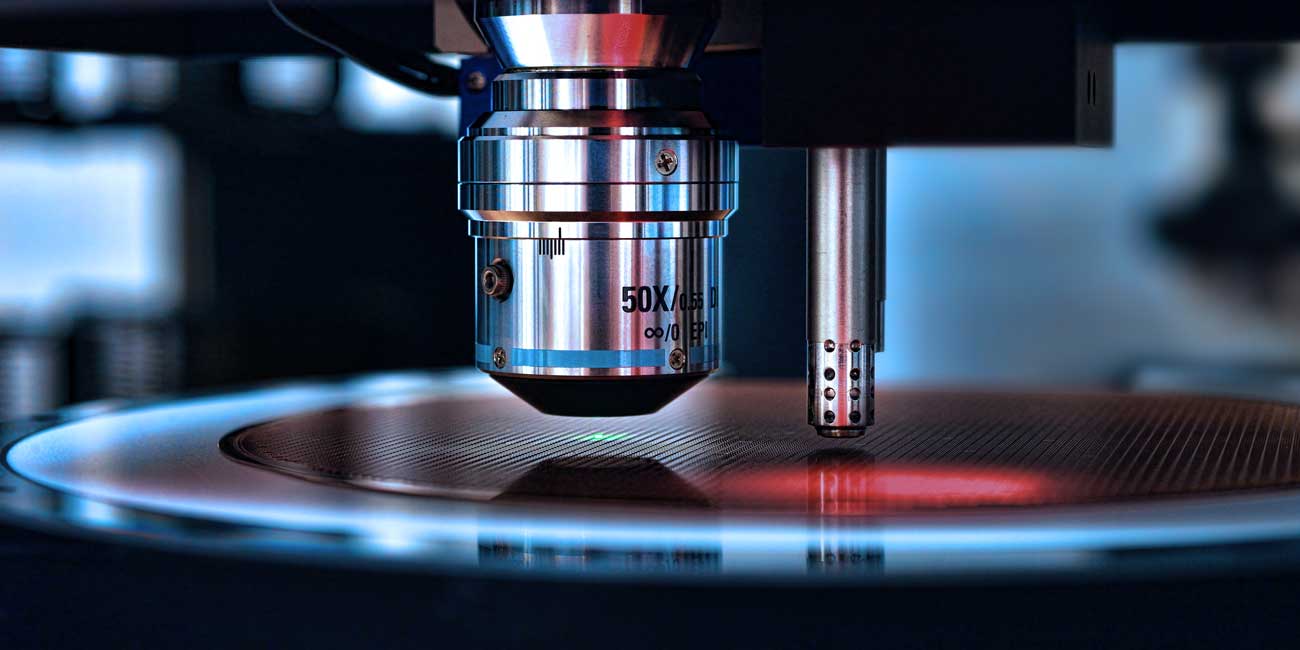
3D White Light Interferometer
White Light Interferometry (WLI) is highly effective for measuring small bumps due to its exceptional Z-resolution, reaching as fine as 0.1 nanometers. This capability allows the WLI to detect minute height variations, which is essential for accurately characterizing tiny bumps and surface irregularities.
Examples
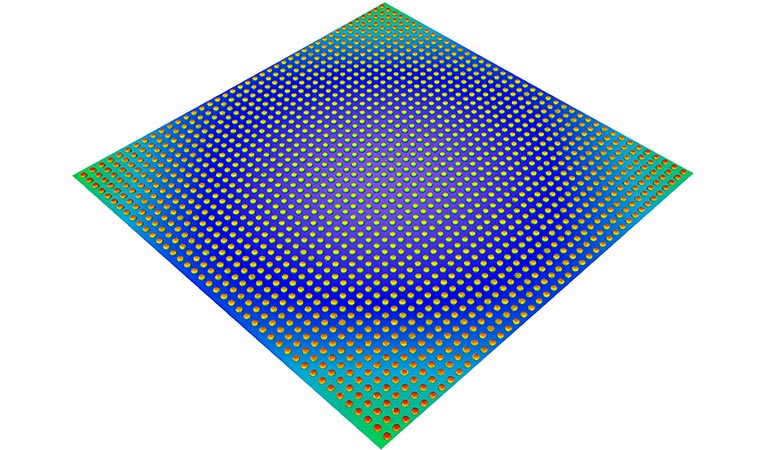
Bumps on Wafer
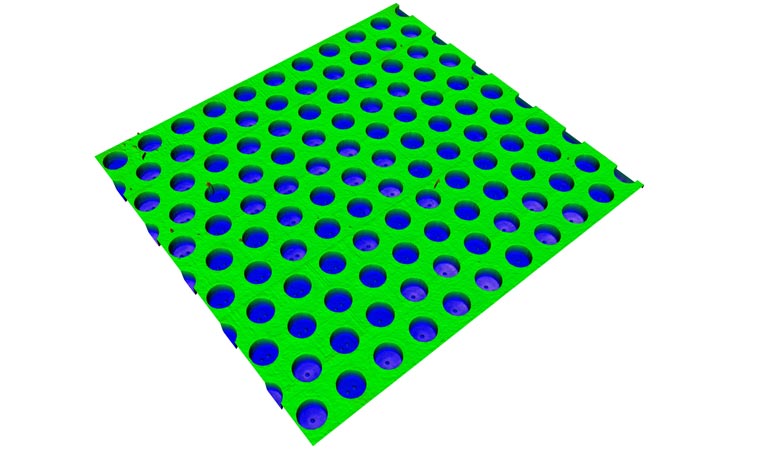
Pads
Measure the coplanarity of pads efficiently, whether examining the height of individual pads or multiple pads at once.
Connectors, Pins
Measure the coplanarity of connectors, whether individually or multiple connectors simultaneously, with the ability to zoom in on each pin as needed for detailed analysis.
Other Applications
Measure R-parameters (e.g. Ra, Rz) in 2D or S-parameters (e.g. Sq, Smax) in 3D.
Absolute thickness, thickness variations (TTV, LTV), parallelism or compare positions of features from top to bottom surface.
Let's discuss your needs to find the best solution for you.
General
cyberTECHNOLOGIES GmbH
Georg-Kollmannsberger-Straße 3
85386 Eching-Dietersheim
Germany
