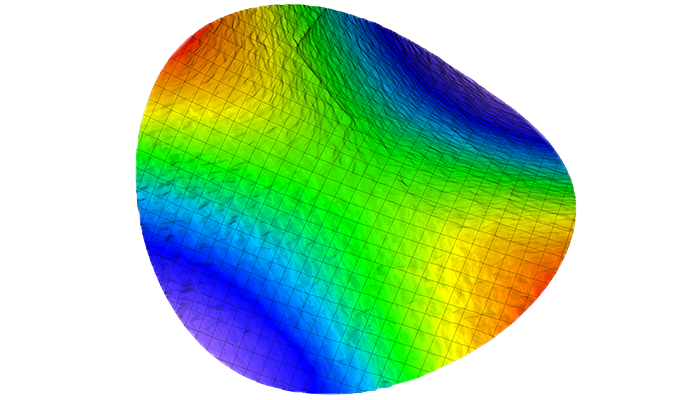
Warp, Bow and more
From Wafers, PCBs to automotive parts and medical devices, precision in flatness, warp and bow is crucial. Our metrology systems deliver fast, non-contact measurements of these critical parameters with micrometer and nanometer accuracy.
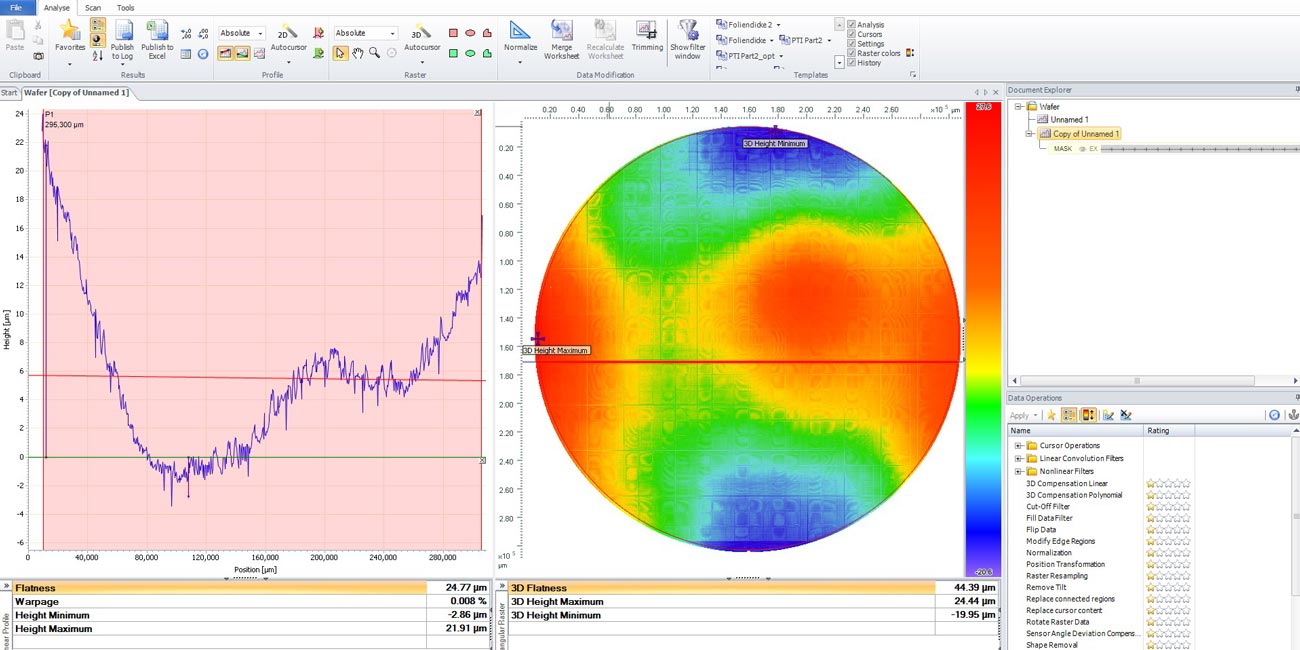
Flatness Analysis
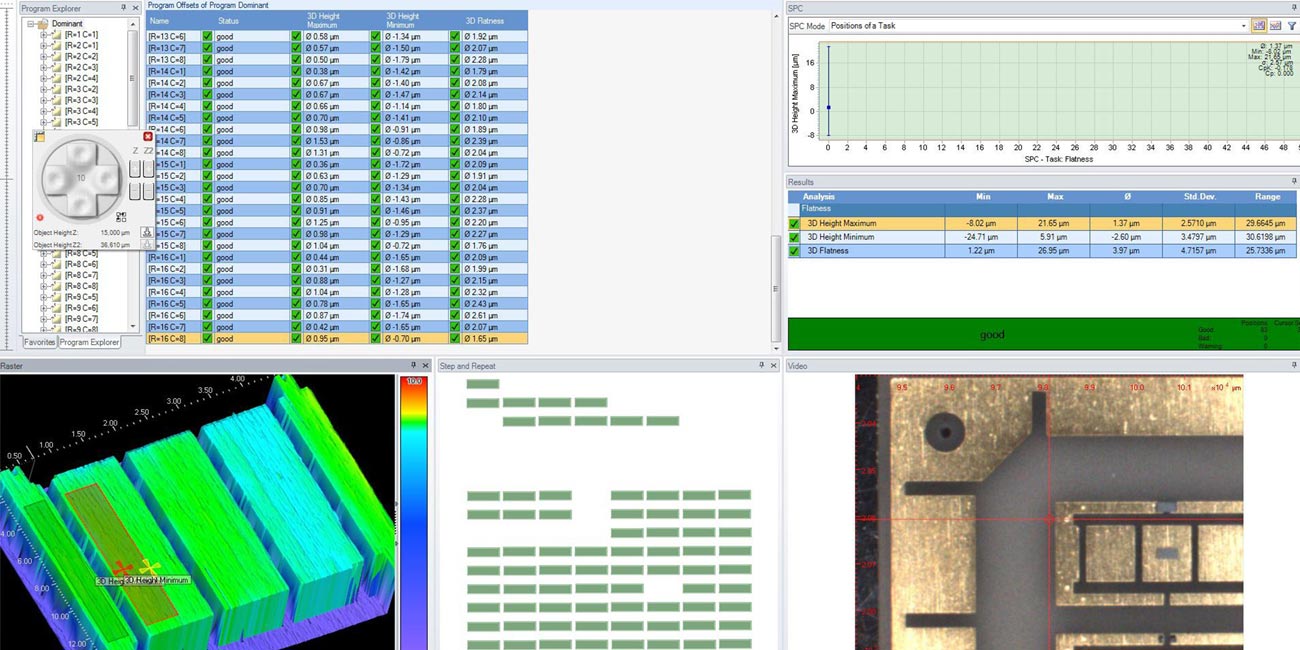
Quickly and efficiently analyze flatness, warp, bow and other critical parameters of your products. Either manually with ScanCT or fully automated using ASCAN.
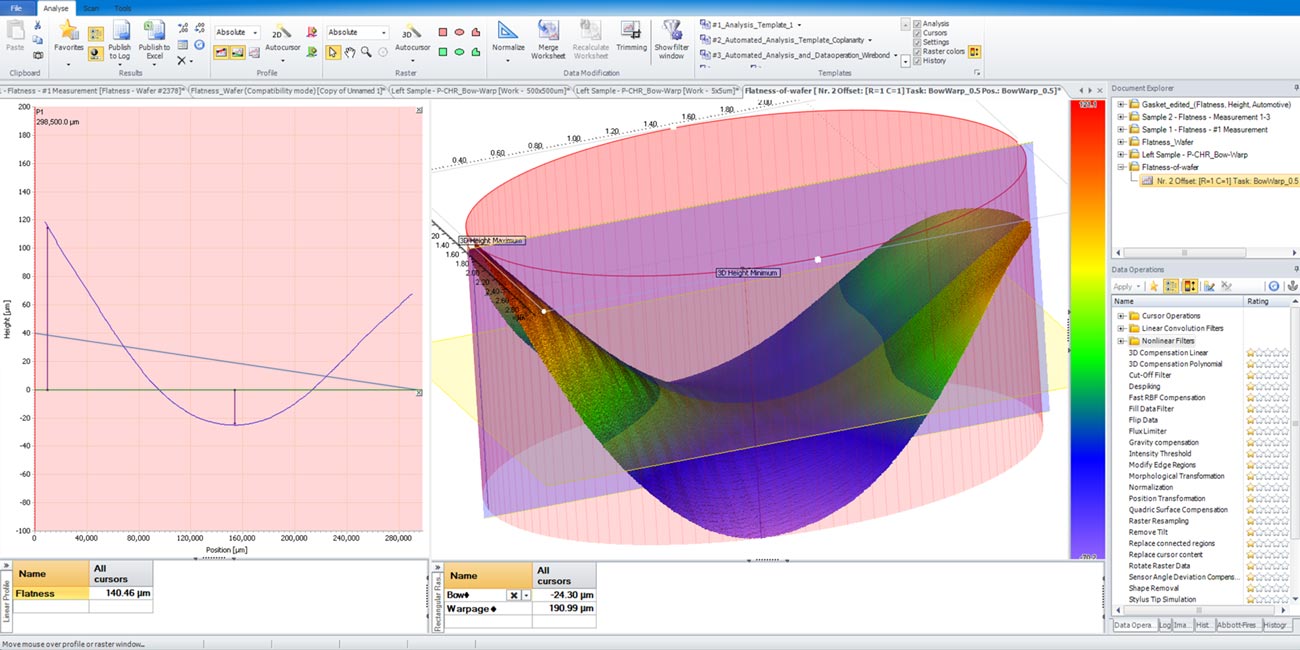
Warp & Bow
Our systems provide high-resolution measurement and analysis of warp and bow, ensuring compliance with standards such as SEMI – supported by three-point alignment or customized interfaces.
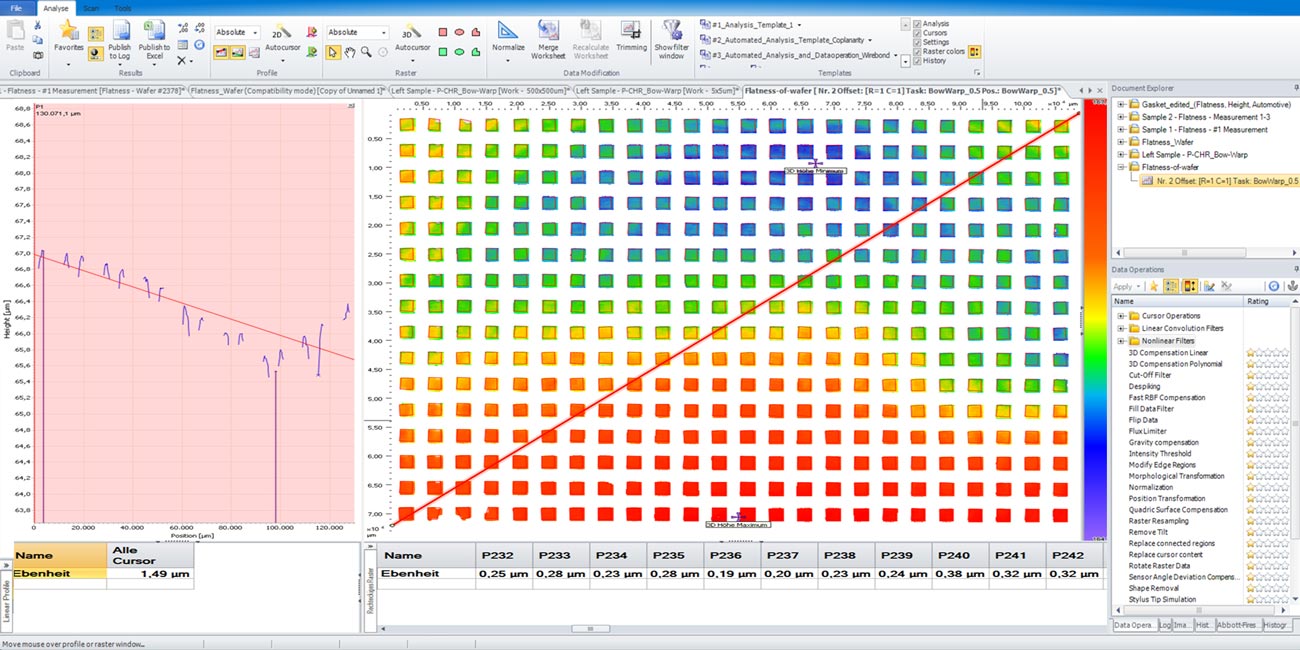
Flatness
Measure the flatness of your products with high-accuracy. Scan an entire part or multiple parts at once for individual or combined analysis.
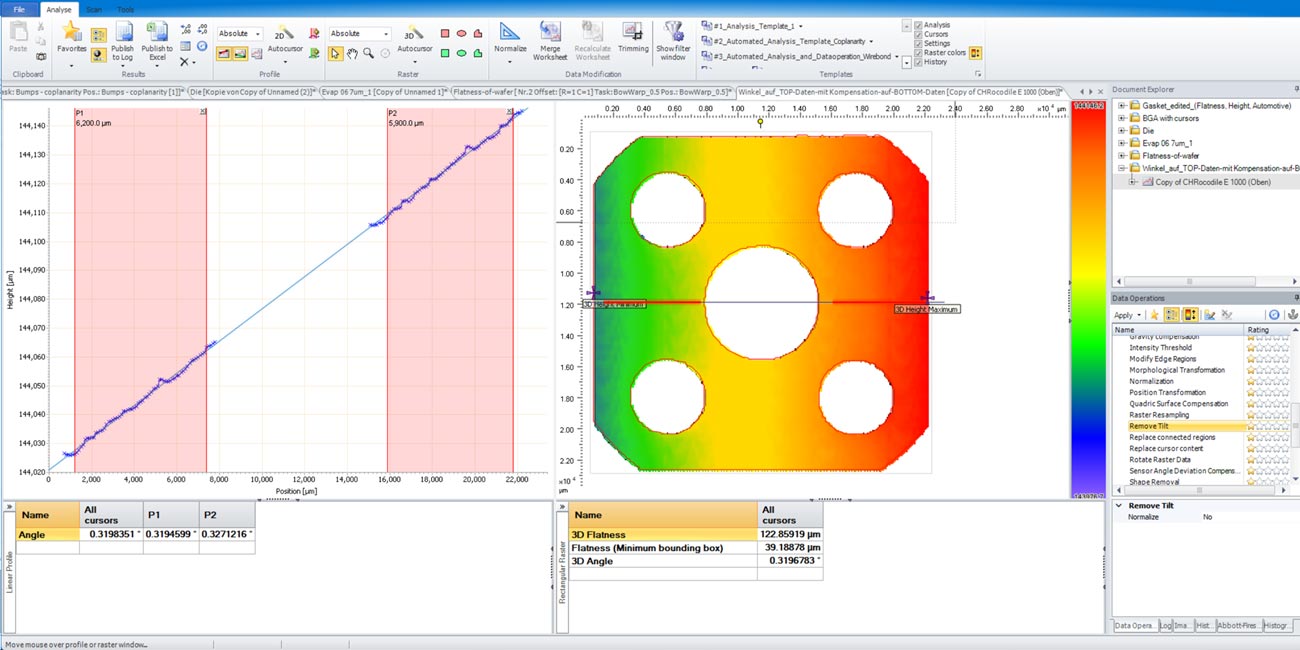
Angle measurement
Perform precise angle measurements in both 2D and 3D. Need to measure an angle relative to a specific area? Simply place a reference cursor on the desired area and the analysis will automatically adjust to it.
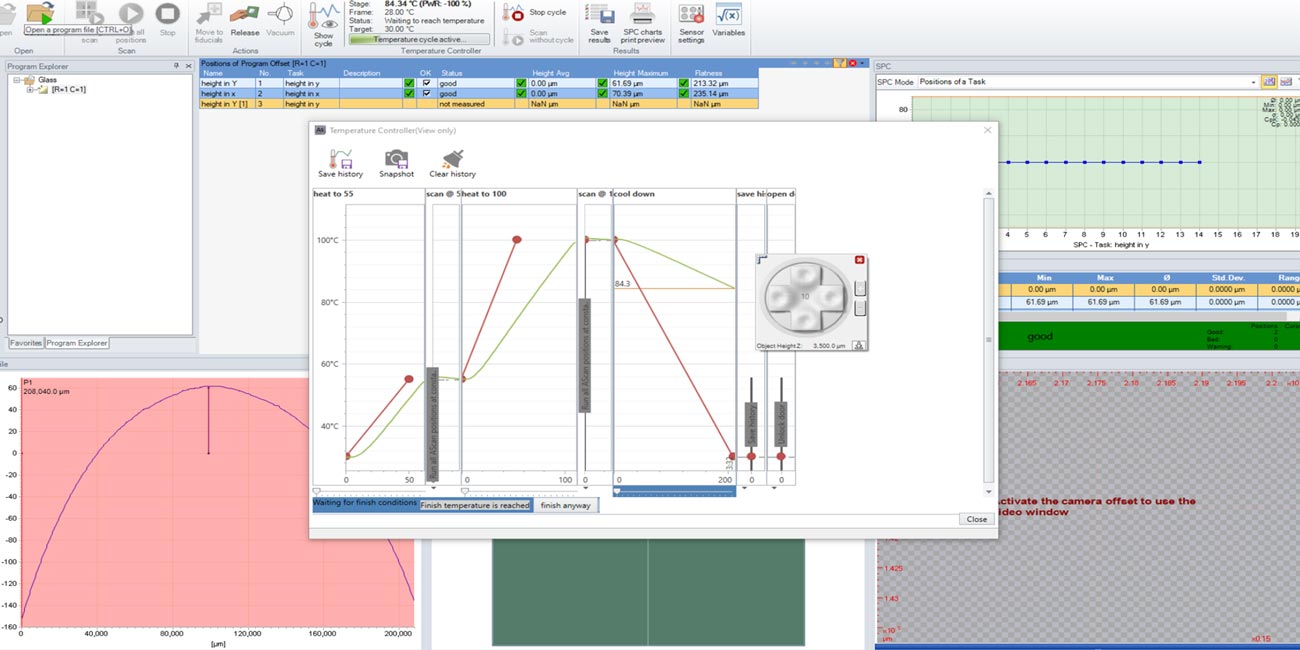
Thermal Warpage & Stress
Automate your Flatness measurements with ASCAN

Do you have question about your Flatness measurements?
Non-Contact Measurement
For most flatness measurements chromatic confocal sensors are an excellent choice. However, for high-resolution measurements down to the (sub-)nanometer level we can configure our systems with confocal microscope or white light interferometer – or a combination of all.
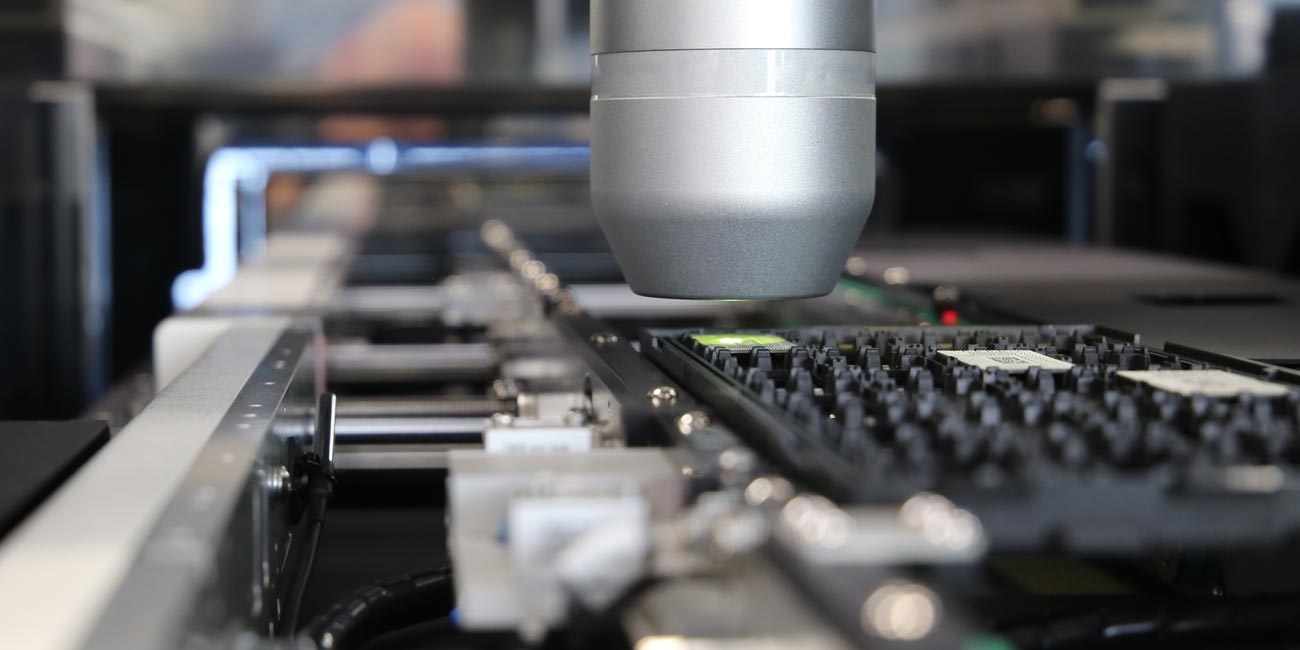
Chromatic Confocal
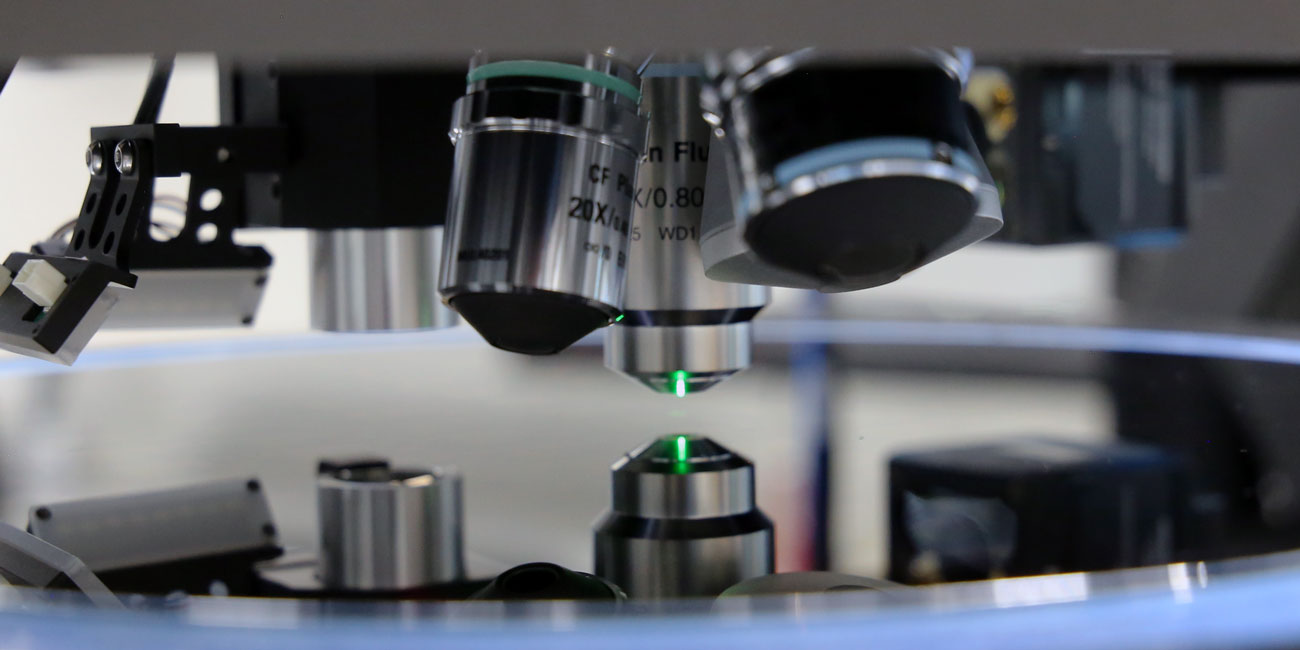
Confocal Microscope
Our systems can be equipped with a confocal microscope (CFM) that provides resolution down to 1 nanometer, making it ideal for high-resolution flatness measurements on smaller areas. The CFM offers the flexibility of different magnifications and features an automatic turret that allows seamless switching between objectives with a simple click or automated in ASCAN.
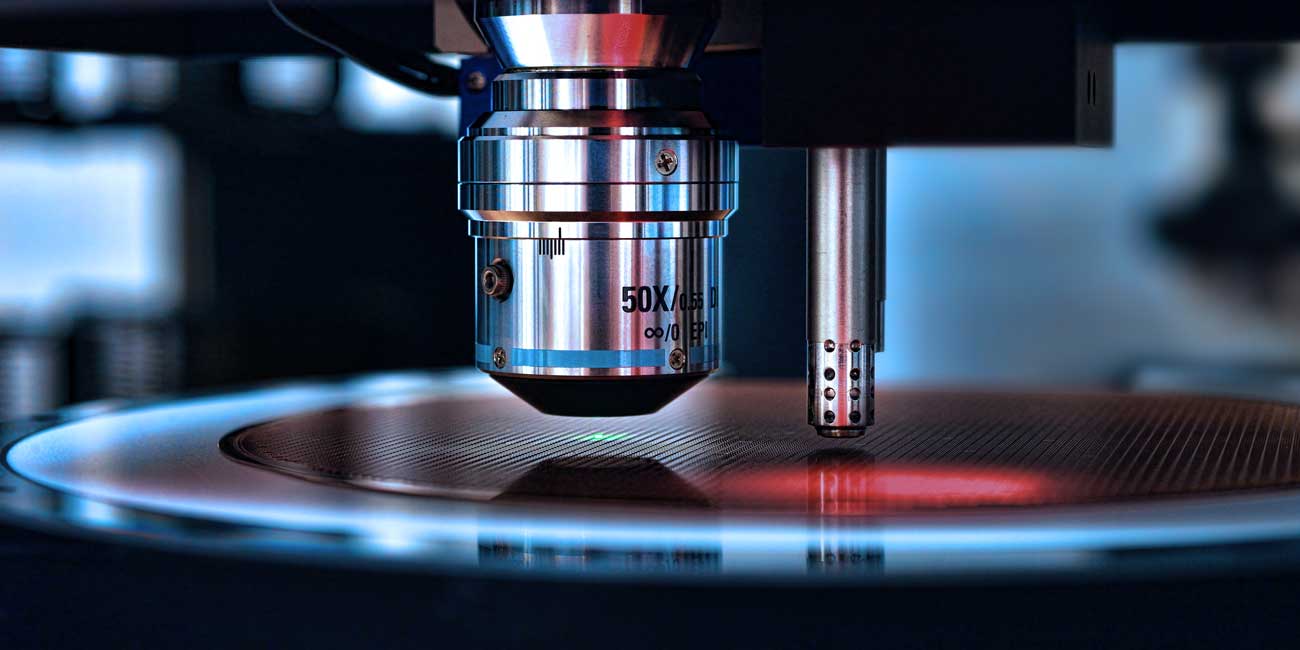
3D White Light Interferometer
For situations that demand even greater accuracy our 3D White Light Interferometer (WLI) with a resolution down to 0.1 nanometers is the ideal solution. It is now also available for in a high-speed version.
Examples
With our range of sensor technologies and versatile system options, flatness can be measured accurately on almost any material. Achieve z-resolutions as fine as 0.1 nanometers or measure surfaces up to 650 x 650 mm².
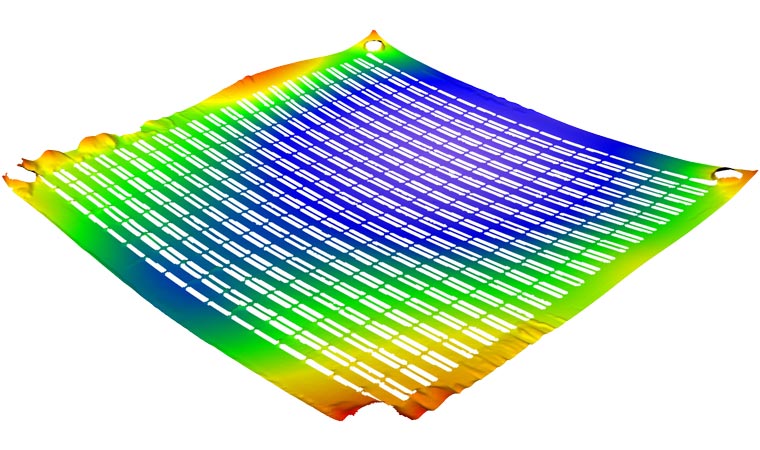
Substrate
Flatness measurement on a substrate with automated cutout of the components on top.
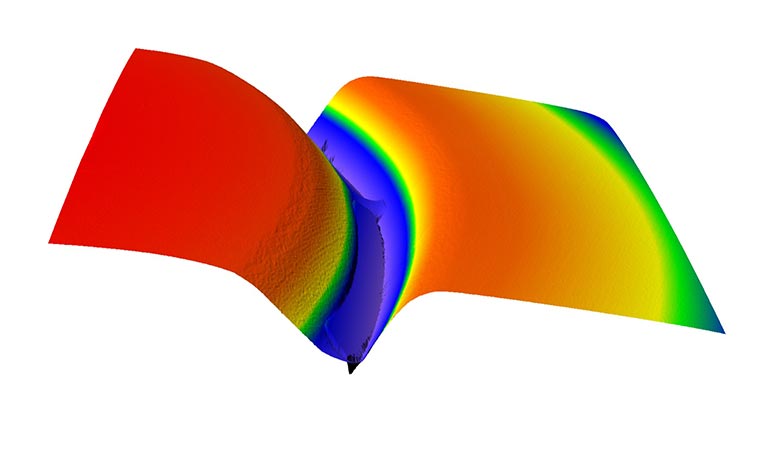
Medical Component
High-resolution measurement of flatness and angle on a component for the medical industry.
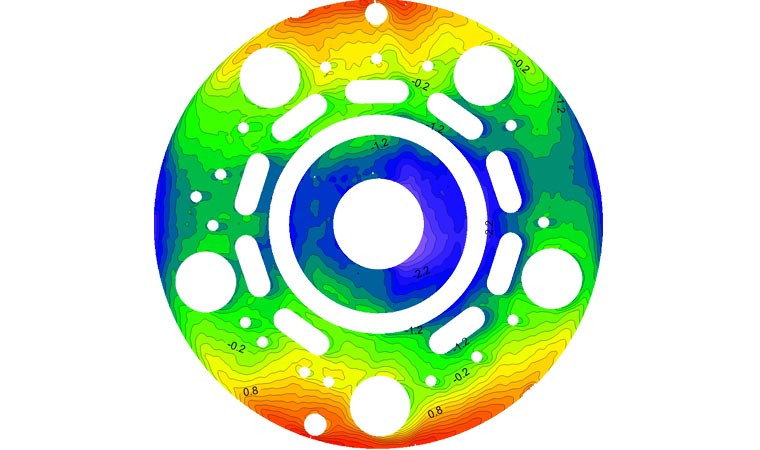
Mechanical Part
Flatness measurement of a mechanical part in the automotive industry using a chromatic confocal sensor ensures precise evaluation of surface evenness.
Other Applications
Absolute thickness, thickness variations (TTV, LTV), parallelism or compare positions of features from top to bottom surface.
Measure the thickness of transparent layers or the top surface.
Let's discuss your needs to find the best solution for you.
General
cyberTECHNOLOGIES GmbH
Georg-Kollmannsberger-Straße 3
85386 Eching-Dietersheim
Germany
