Metrology Automation
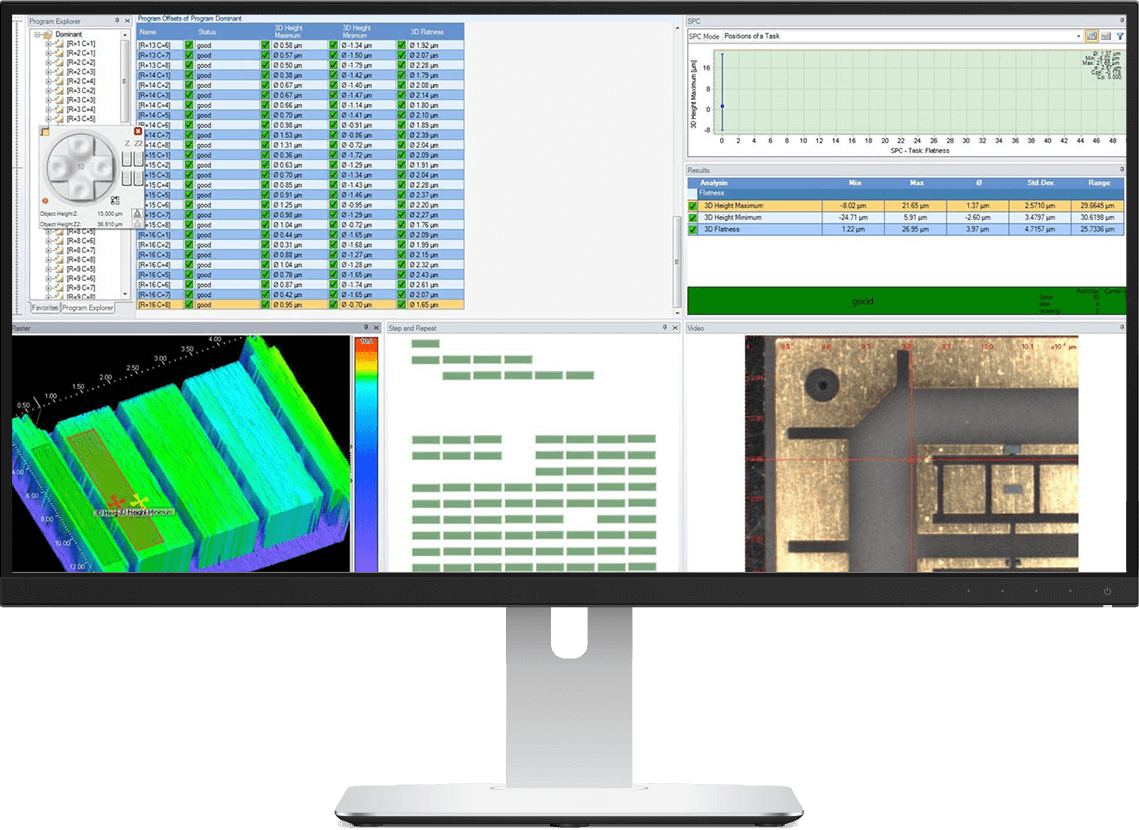
ASCAN is the solution for fully automated measurement routines. Define your scan settings, surface analyses and filters once and receive high-accurate, consistent results – completely user-independent. Boost your efficiency and accuracy in production with ASCAN.

Key Features
Automized 3D and 2D Analysis
Fully automate your 2D and 3D measurement and analysis routines with ease, streamlining complex processes for maximum efficiency without user interferance.
Automated Fiducial Alignment
Easy-to-Use Interface
Create and edit programs easily with an intuitive, menu-driven interface – no programming skills required.
Code Reader Integration
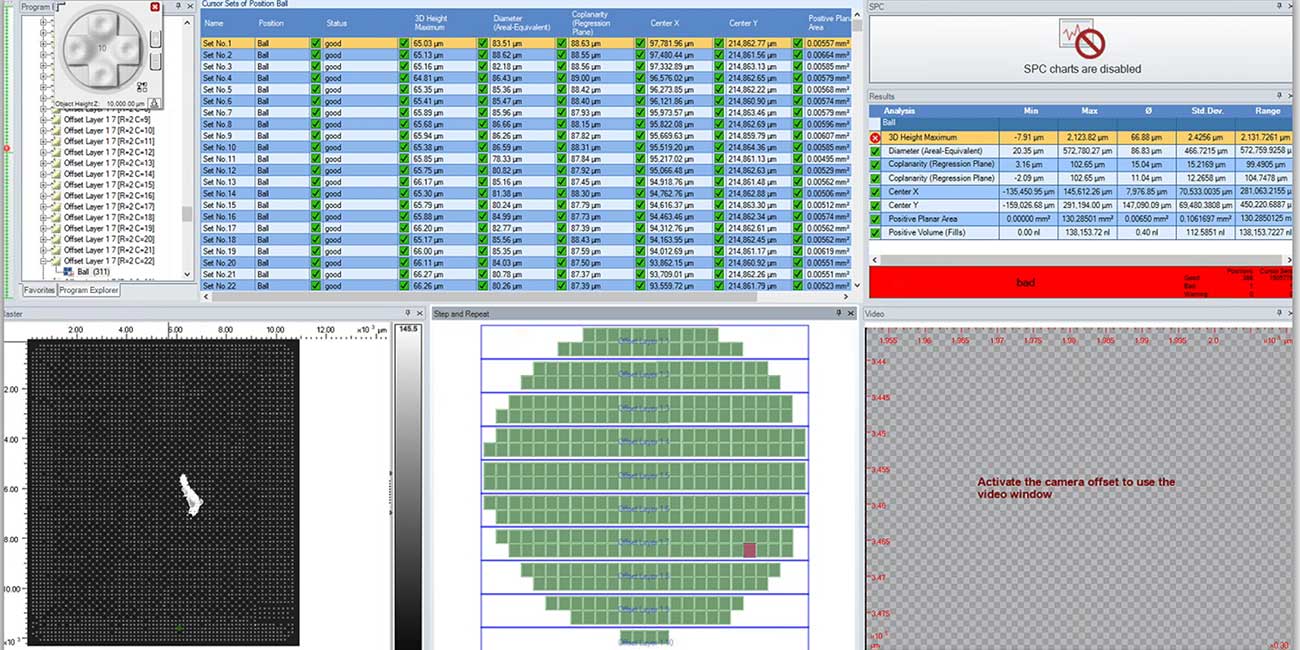
Step- & Repeat
Define Tolerances (UCL, LCL, UWL, LWL)
Define tolerances (UCL, LCL, UWL, LWL) easily through ASCAN’s intuitive interface, which provides direct and clear visual feedback for the operator if the values are in the tolerances or not.
Production Ready
The system features integrated SPC (Statistical Process Control), data recording and external (web) server support, enabling seamless integration into your production environment with optional SECS/GEM compatibility.
User Management
The system features integrated user management – enabling assignment of roles with tailored access levels, including admin, operator or custom user-defined permissions.
This functionality enhances security and control, ensuring that each user only accesses the features relevant to their role, promoting a streamlined and secure workflow.
Automated Analysis
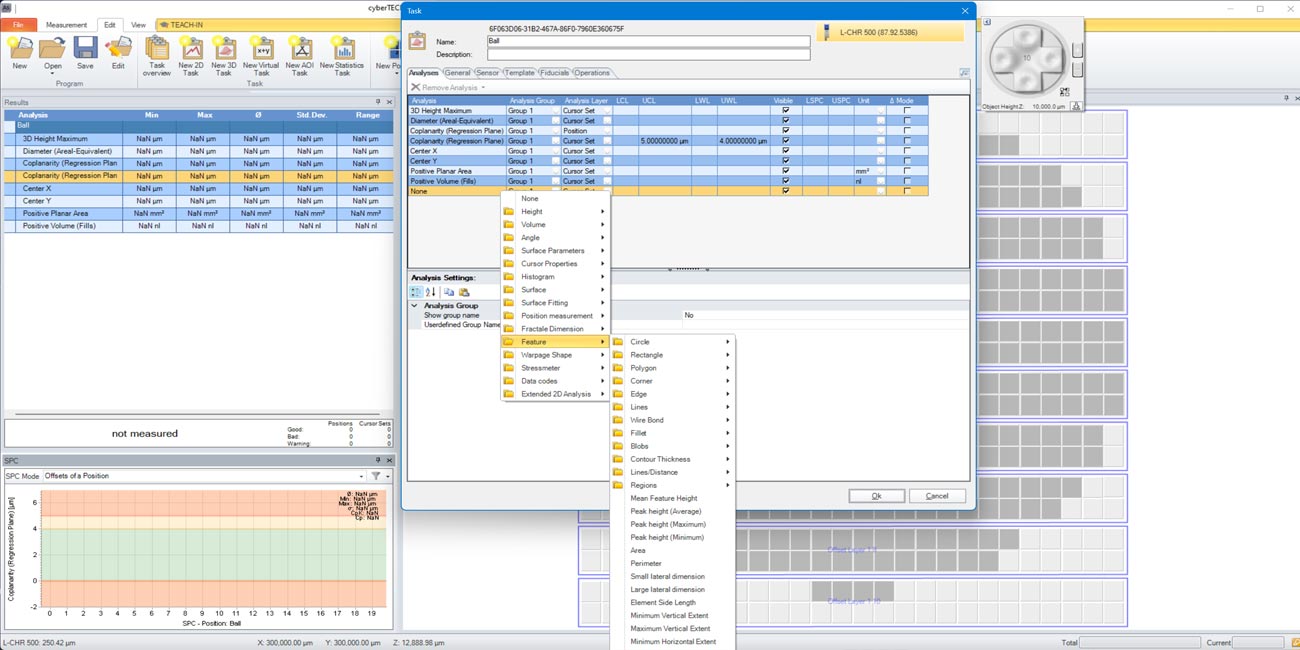
ASCAN offers over 500 individual analysis and more than 100 data operations. These can be fully automated, allowing measurements and analyses to be done without user intervention. This automation ensures consistent, repeatable results with fast feedback time and reducing the potential user errors.
2D Analysis (100+)
- Height / Flatness
- Area
- Angle
- Print Anaylsis
- Roughness (i.e. Ra, Rz)
- Feature Sizes
- Edge Analysis
- Histogramm
- Fillet Height
- and many more
Fast Data Processing
- Handles measurements with up to 500 millions datapoints
- Multi-Thread Technology for fast data hand anaylsis processing
- Parallelization of most analysis and data operations allows for simultaneous scanning and analysis, ensuring no time is lost in the process.
Templates
Create templates for analysis, measurement and reference areas, data operations and 3D map or 2D visualization, allowing for streamlined and consistent workflows.
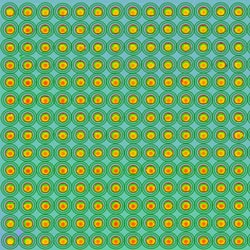
Once designed, these templates can be applied automatically or manually, saving time and ensuring uniformity across multiple samples or processes.
Export Filters
Export raw measurement data, results or 3D and 2D images of your measruements in a vast variety of formats in dataformats like csv, PCD Point Cloud, Standford Polygon File, image files like tiff, jpg, png or many more.
Manually in ScanCT or automated in ASCAN.
3D Analysis (400+)
Our software includes over 400 individual analysis for 3D measurements:
- 3D Height / Flatness
- Coplanarity
- 3D Area
- Volume
- 3D Angle
- 3D Roughness (S-parameters)
- 2D Roughness paramters on an area
- 3D Feature Sizes
- Position measurement
- Sphere & Aspheric lens
- Radius
- Histogramm
- 3D Fillet Height
- 3D Wirebond (optional)
- Bow, Warp, Stress, Sori
- 3D-Abbott-Firestone
- and many more
Sophisticated Data Operations
Leverage over 100 2D and 3D data operations to focus on what matters most to you, with options for quick, effortless use in just a few clicks or fully automated execution.
- Normalization
- Median
- Compensations (e.g. waviness, previous scans)
- Polynomial fits
- Cut-Offs
- Gauss-Filters
- Gravity compensation
- User-defined filtering
- and many more
Feature Detection
Manually or automatically detect features based on height or intensity data with adaptable filter lists, providing clear visual guidance throughout the process.
General
cyberTECHNOLOGIES GmbH
Georg-Kollmannsberger-Straße 3
85386 Eching-Dietersheim
Germany
