CT300 & CT350
Versatile Metrology Systems for Production & Laboratory
Measurement and Analysis Modes
Manual / Automated
Measurement Area
350 x 350 mm² (CT350)
315 x 315 mm² (CT300)
Example Use-Cases
Substrates, lead frames, JEDEC trays, boats, wafers up to 12“, other parts and components within measurement area
The Industry Standard
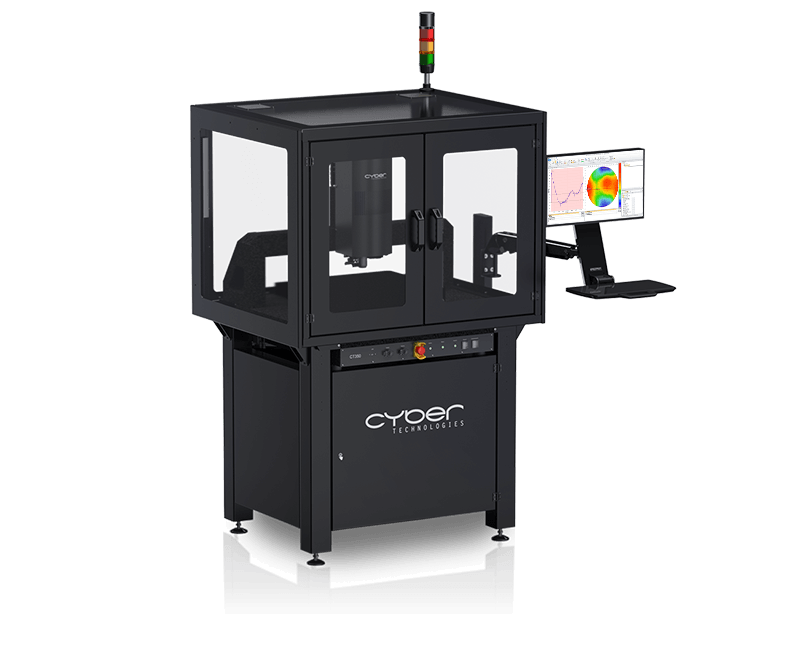
The CT300 & CT350 are highly versatile non-contact surface metrology systems designed for high-resolution optical measurements and analysis on up to 350 x 350 mm². The systems support up to six different sensor technologies and various options.
Made to Measure
The CT-Series offers a uniquely versatile platform, designed to seamlessly adapt to a wide range of metrology applications. With customizable configurations tailored to your exact needs, it guarantees precise control over your products and processes.
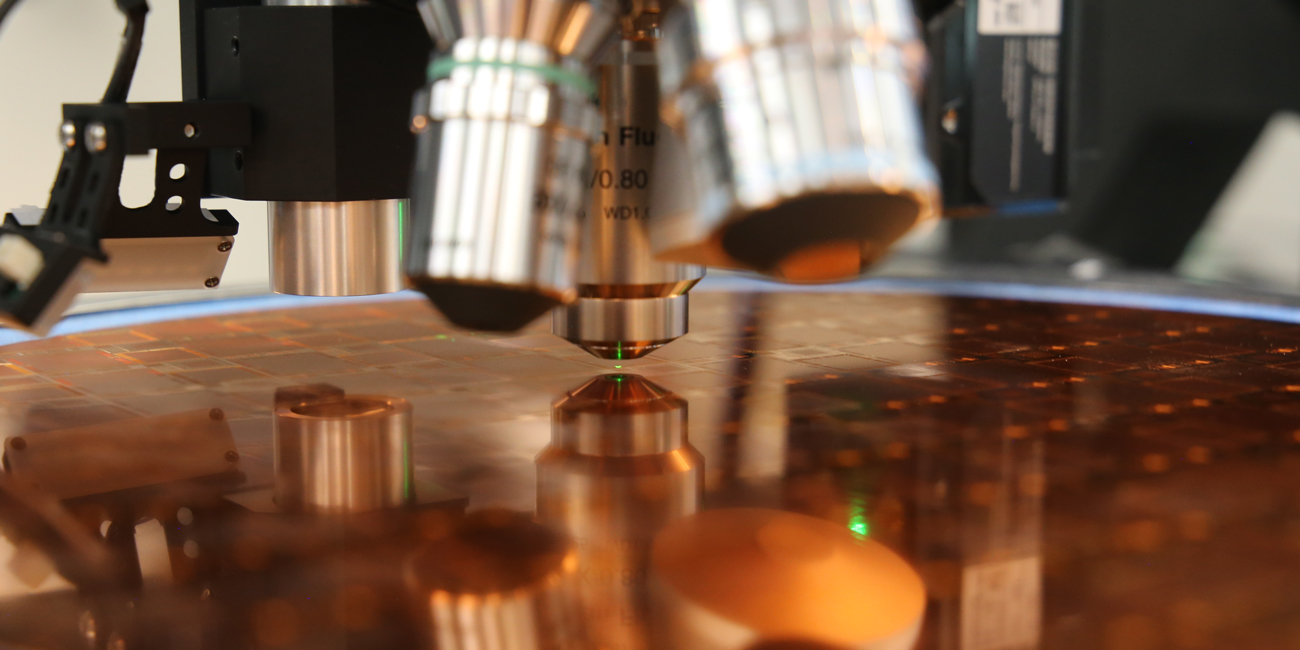
For a wide range of applications in production and R&D. Choose from six different non-contact sensor technologies for high-resolution down to 0.1 nanometer or high-speed measurements with up to 36 million datapoints per second. Add great flexibility with a combination of multiple sensors and objectives in one single system.
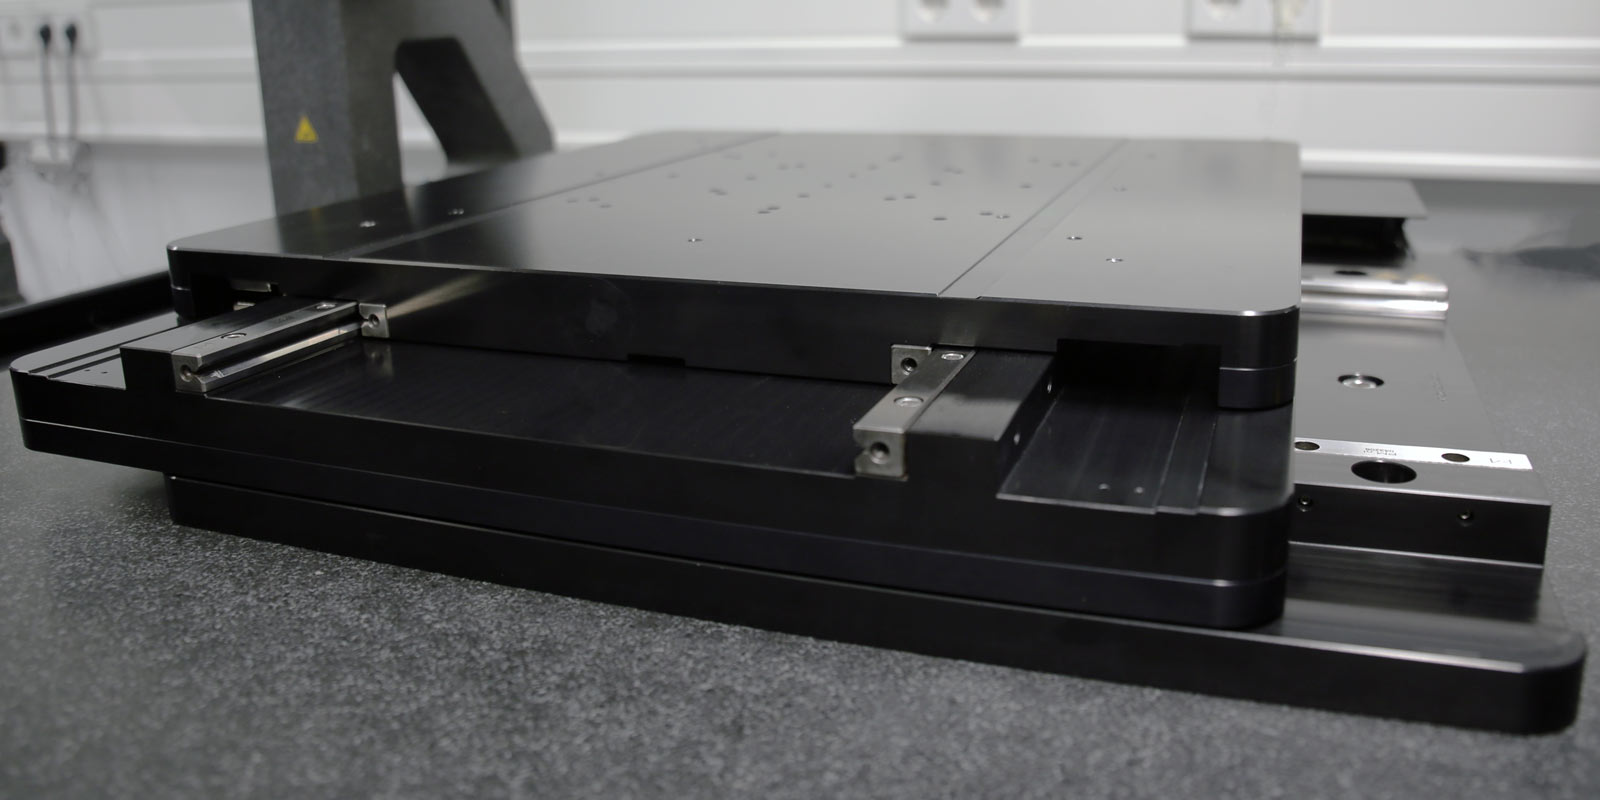
Precise lateral movement on a measurement area of up to 350 x 350 mm². The X/Y-stage, available in 315 mm² or 350 mm² and a resolution of 50 nm ensures pinpoint accuracy for every measurement. Enabling precise positioning and detailed lateral measurements of features. Optionally enhance the stage with a vacuum chuck or sample specific interfaces.
The system includes an automated Z-axis for adjusting to different sample heights, offering autofocus functionality and a range extender to measure heights beyond the sensor’s standard range. The Z-axis on the CT 300 / CT 350 is available in 100, 150, or 200 mm sizes.
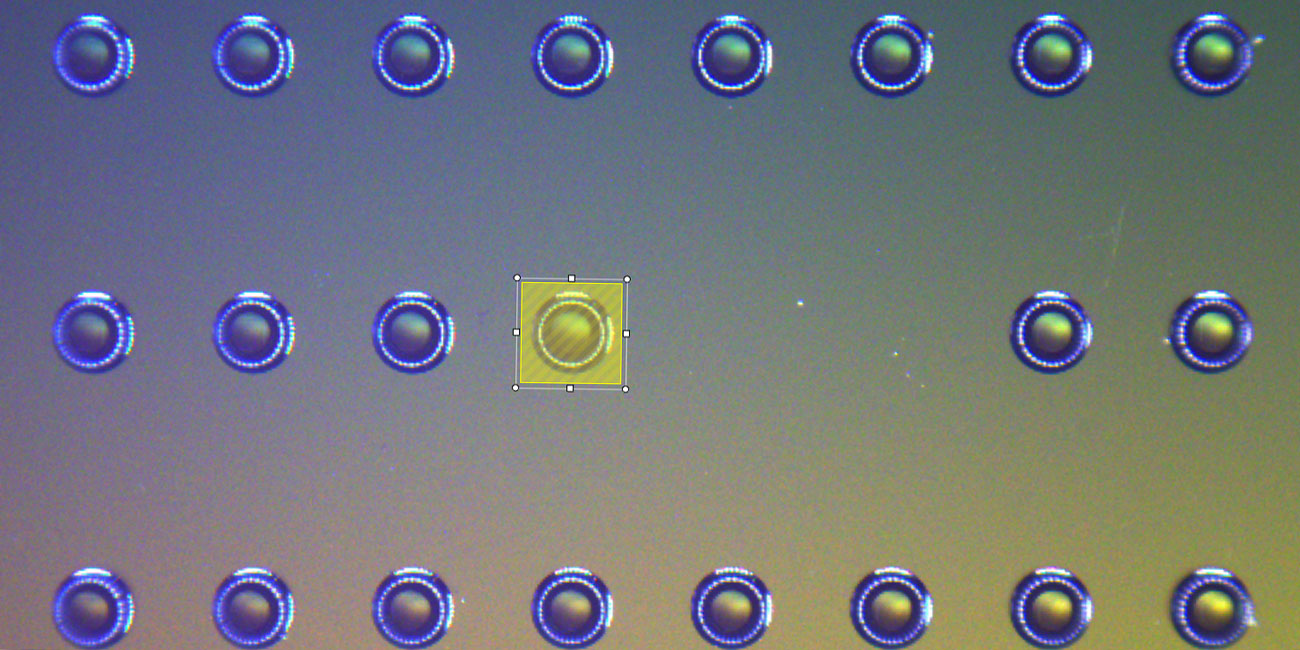
Focus on what matters. The system features a built-in camera with multiple magnification options, allowing you to easily navigate on your samples or choose the sensor’s scanning area in live view. Additionally, the camera enables quick and automated fiducial alignment.
Available Sensors
Flexible high-speed measurements on almost any material with a z-resolution down to 3 nm.
Thickness measurement with a resolution down to 1 nm.
Measure step heights or features with a z-resolution down to 1 nm.
With a z-resolution of down to 0.1 nm for smooth surfaces or smallest (step) heights.
Fast and high-accurate thin film measurement down to 10 nm.
For precise and fast position and lateral measurements with up to 235 MP.
Interested in a configuration of the CT 300 & CT 350?
Powerful Analysis
& Automation for Production
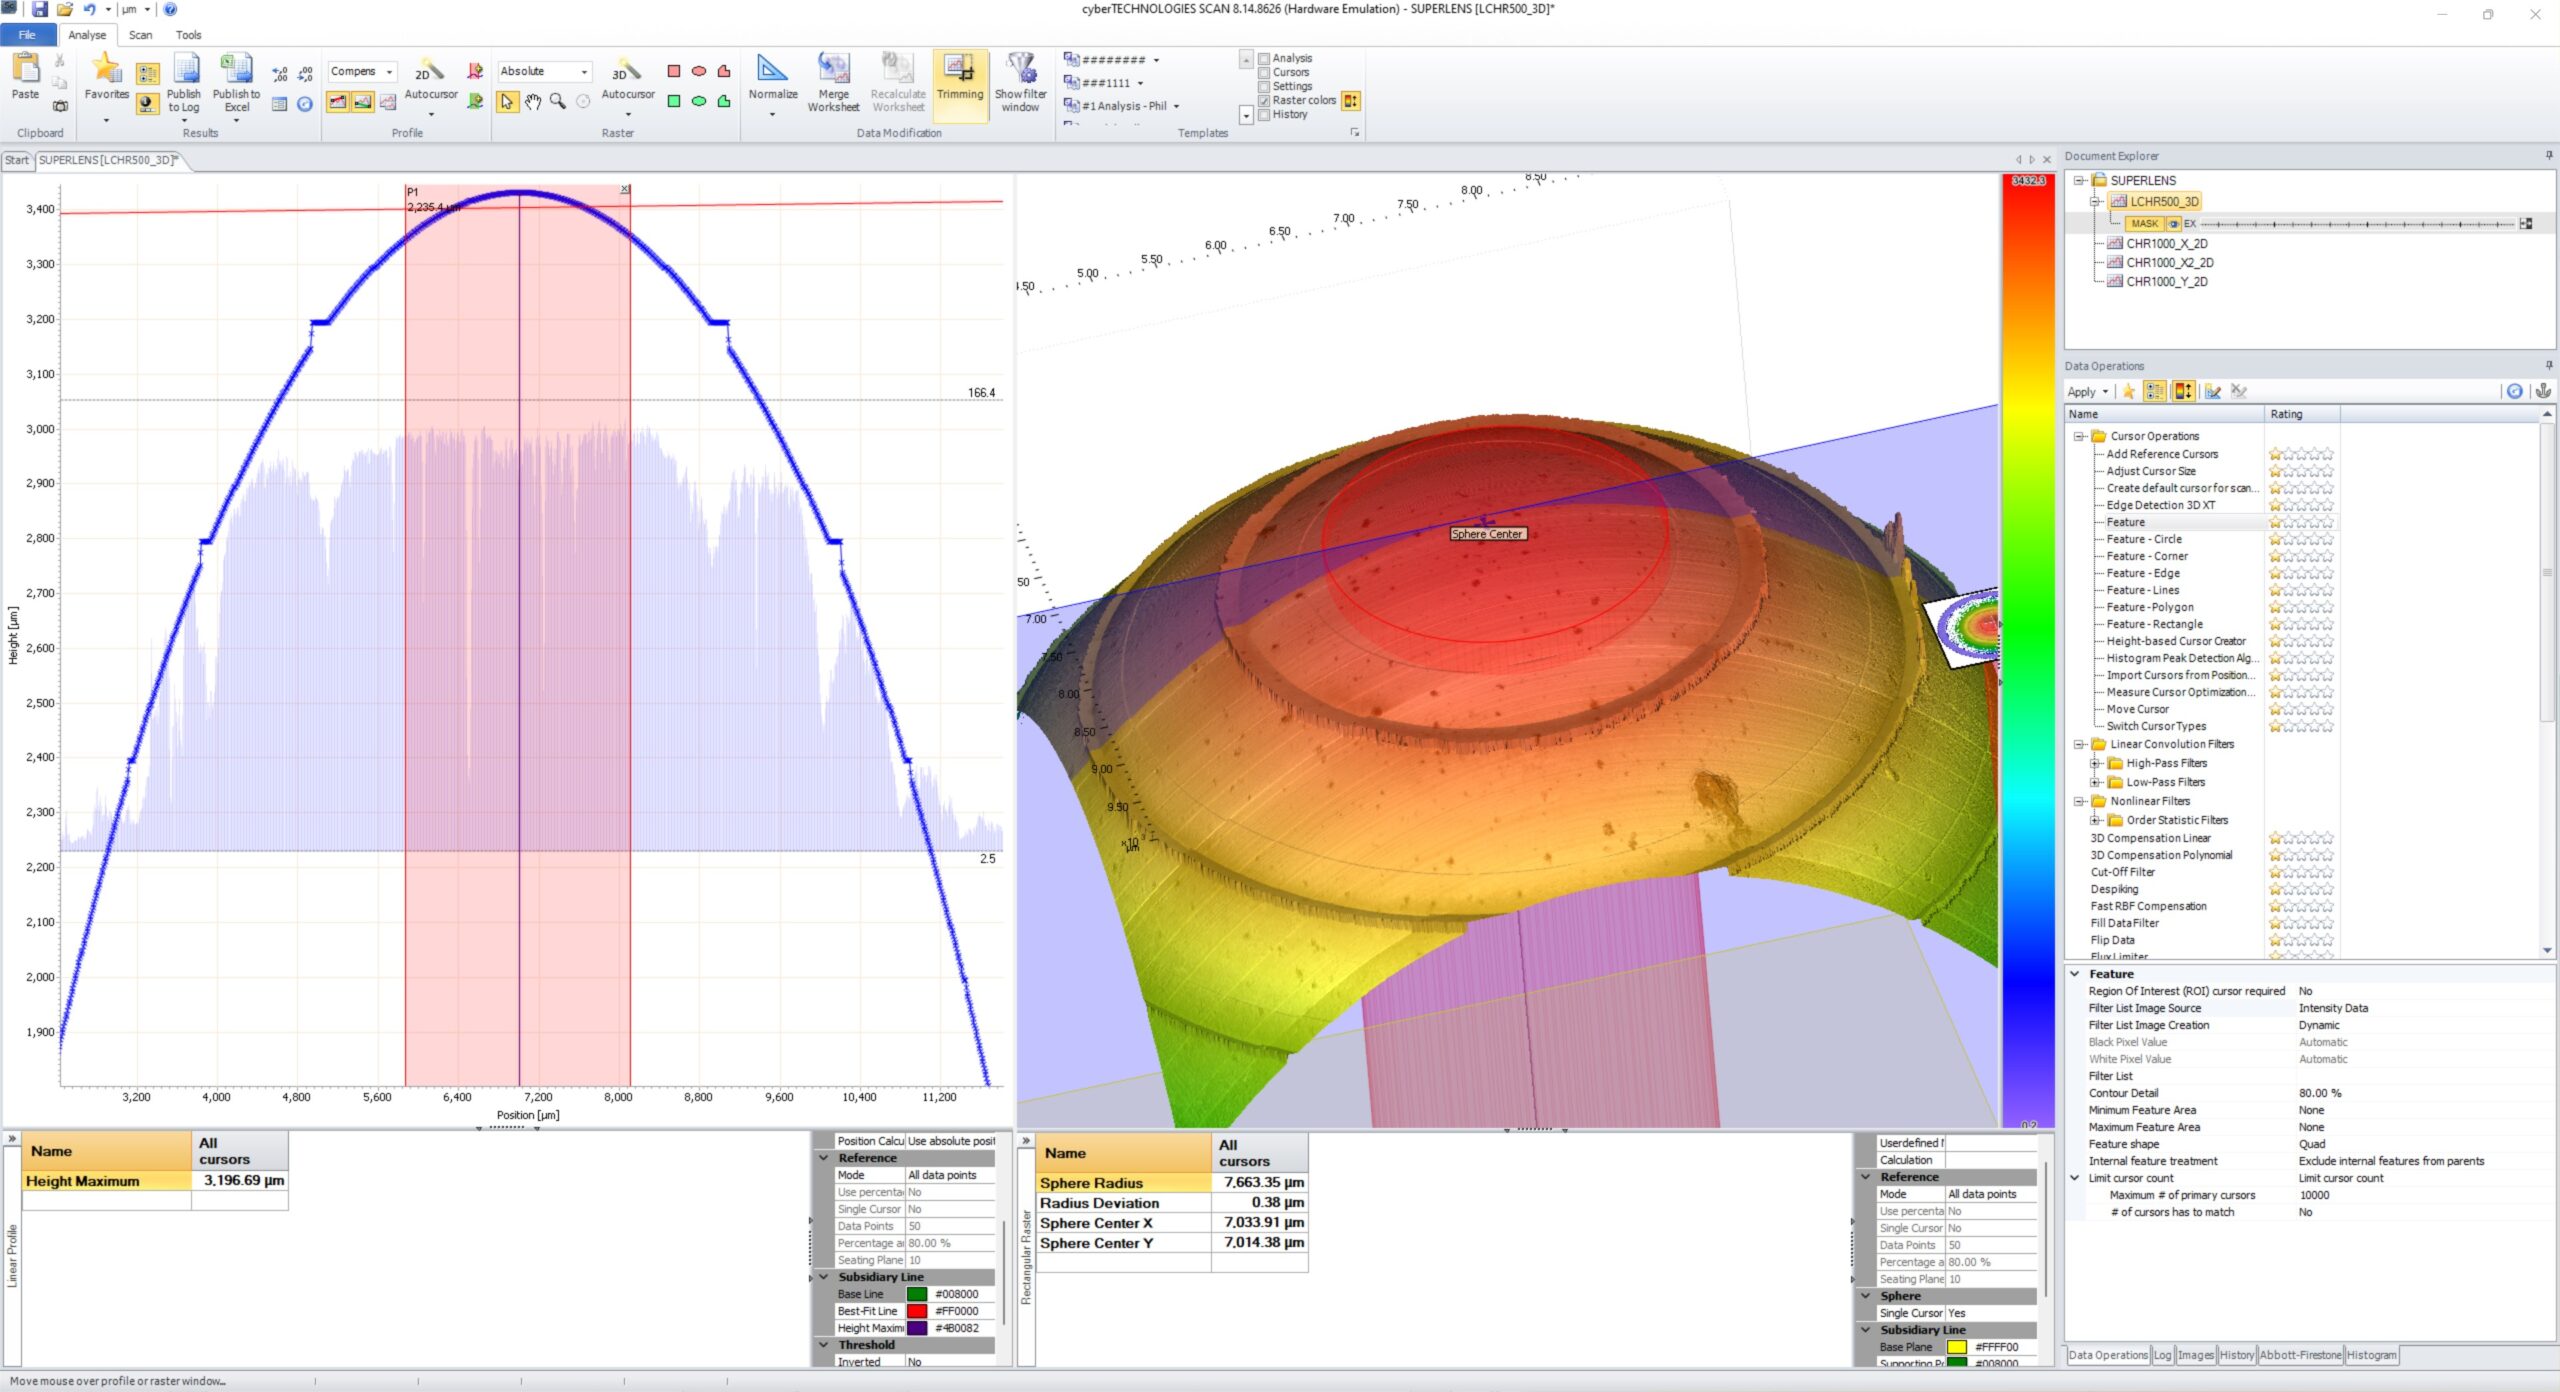
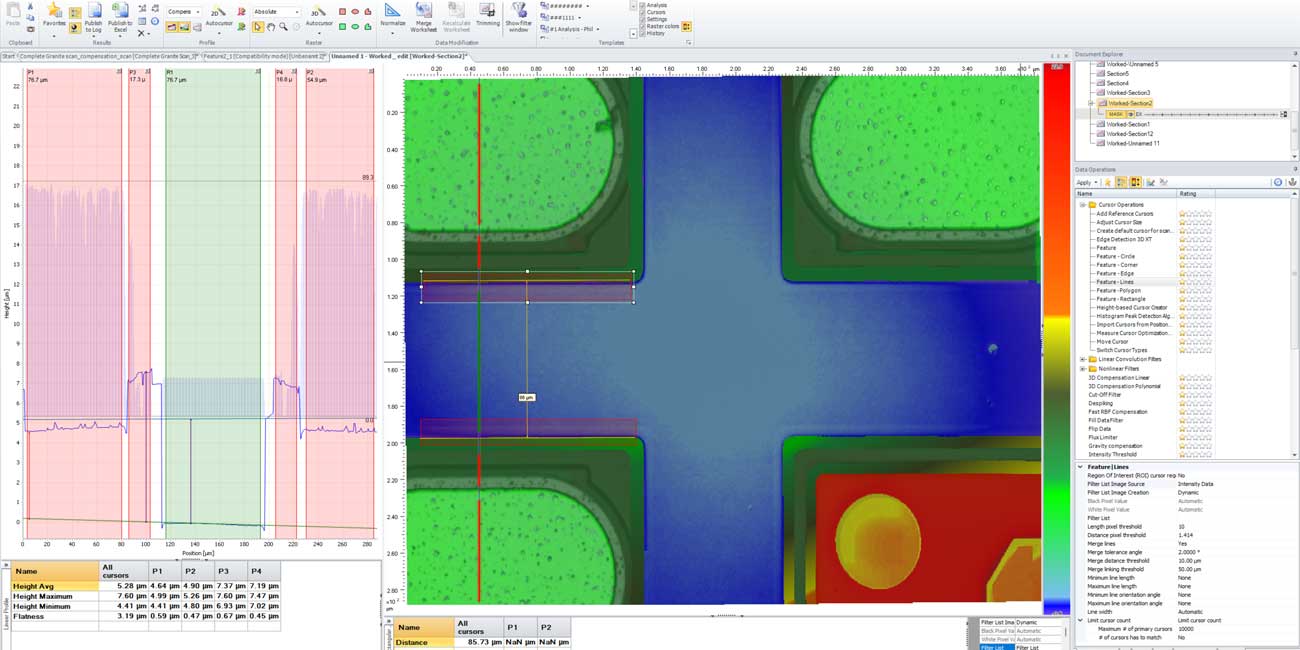
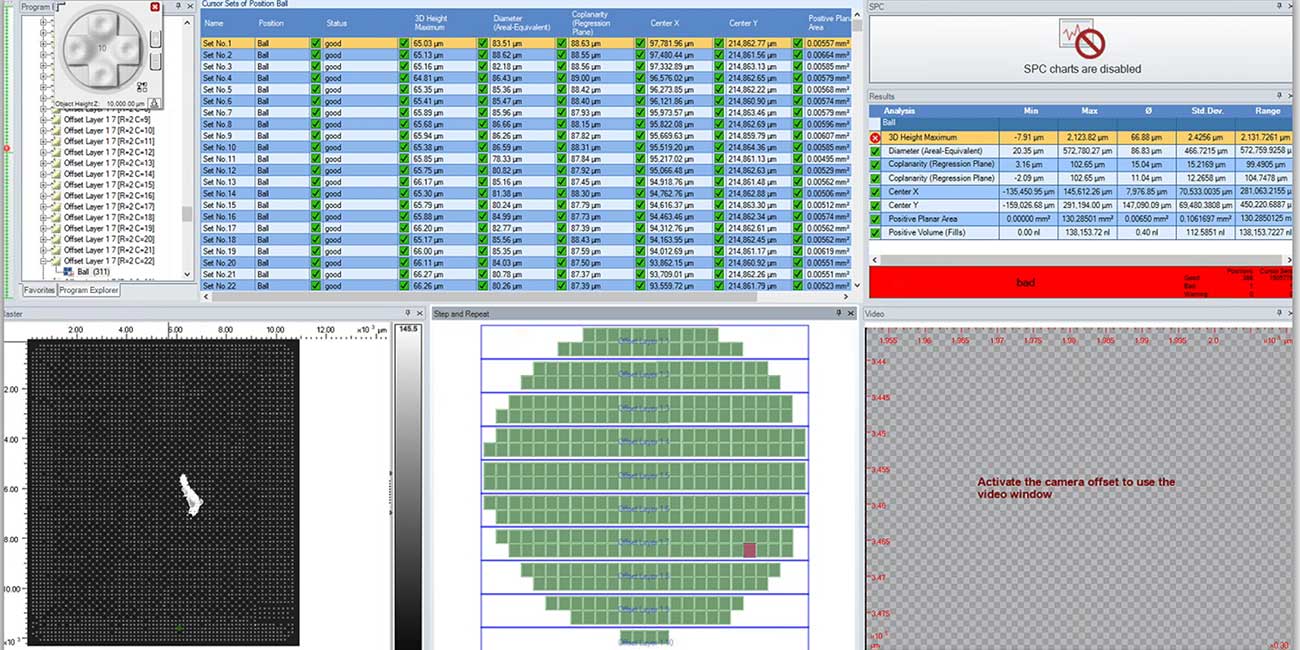
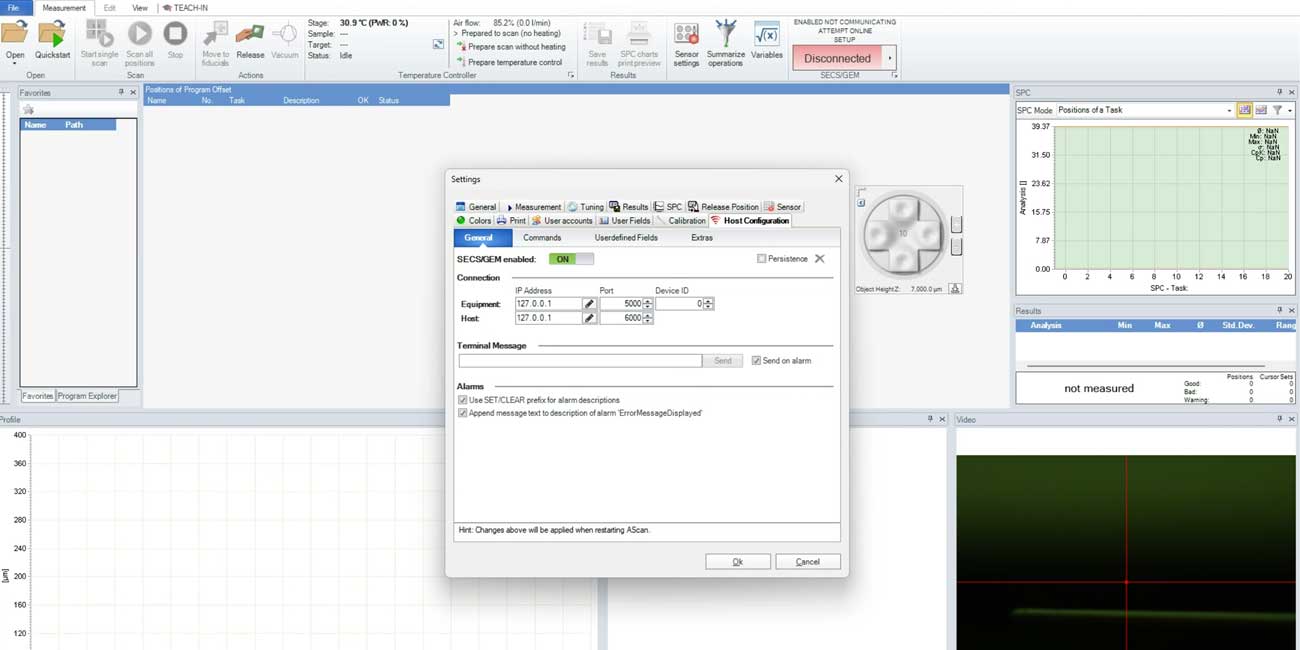
Application Examples
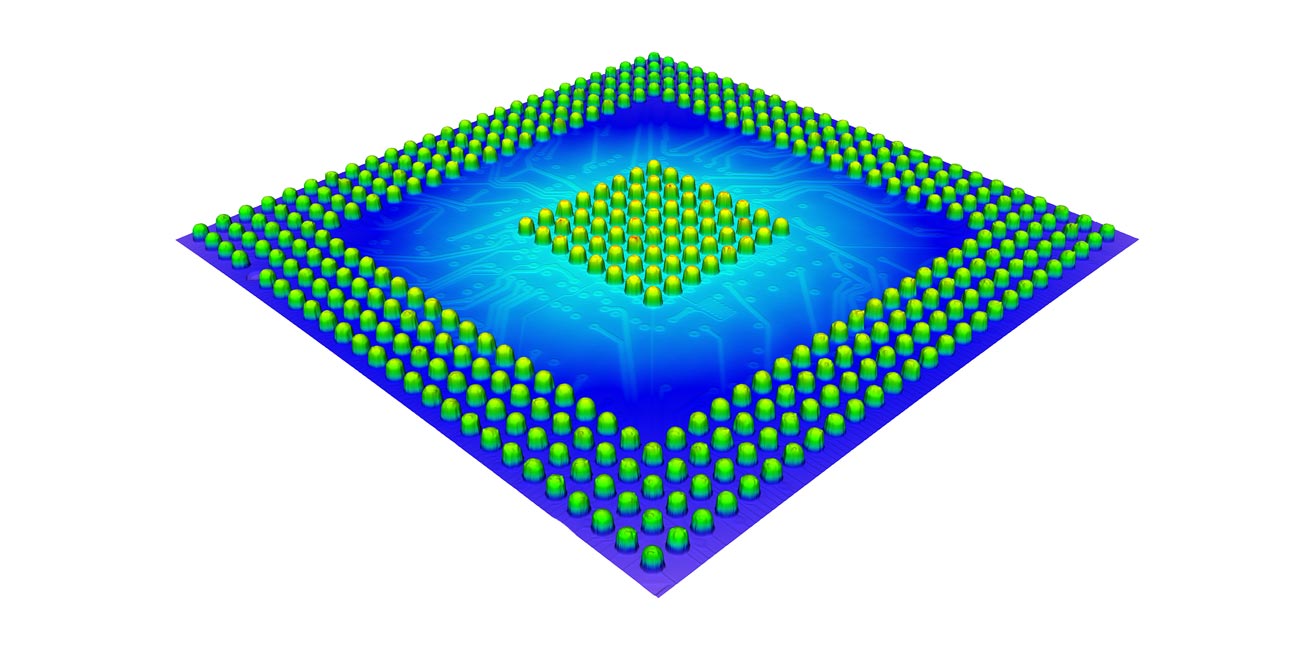
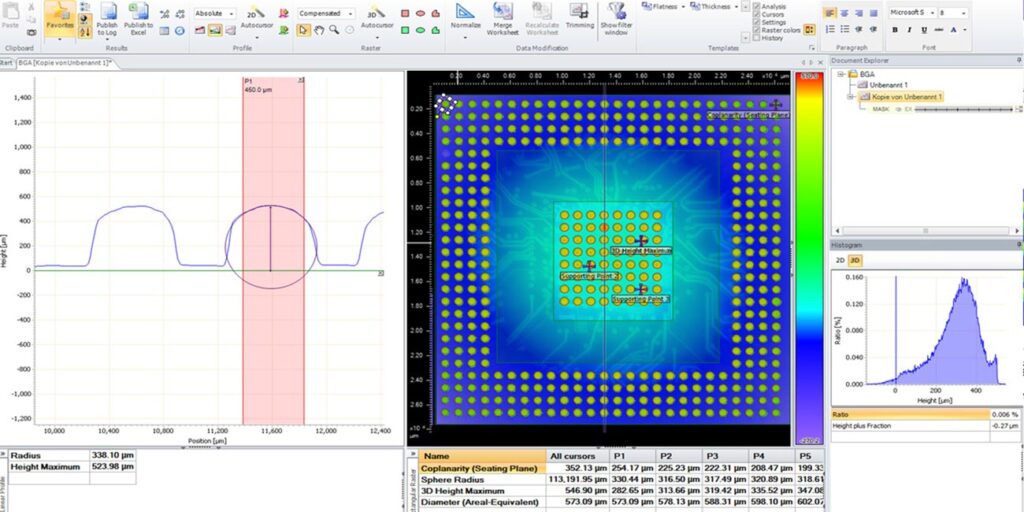
Coplanarity on bumps, pads, connectors and more
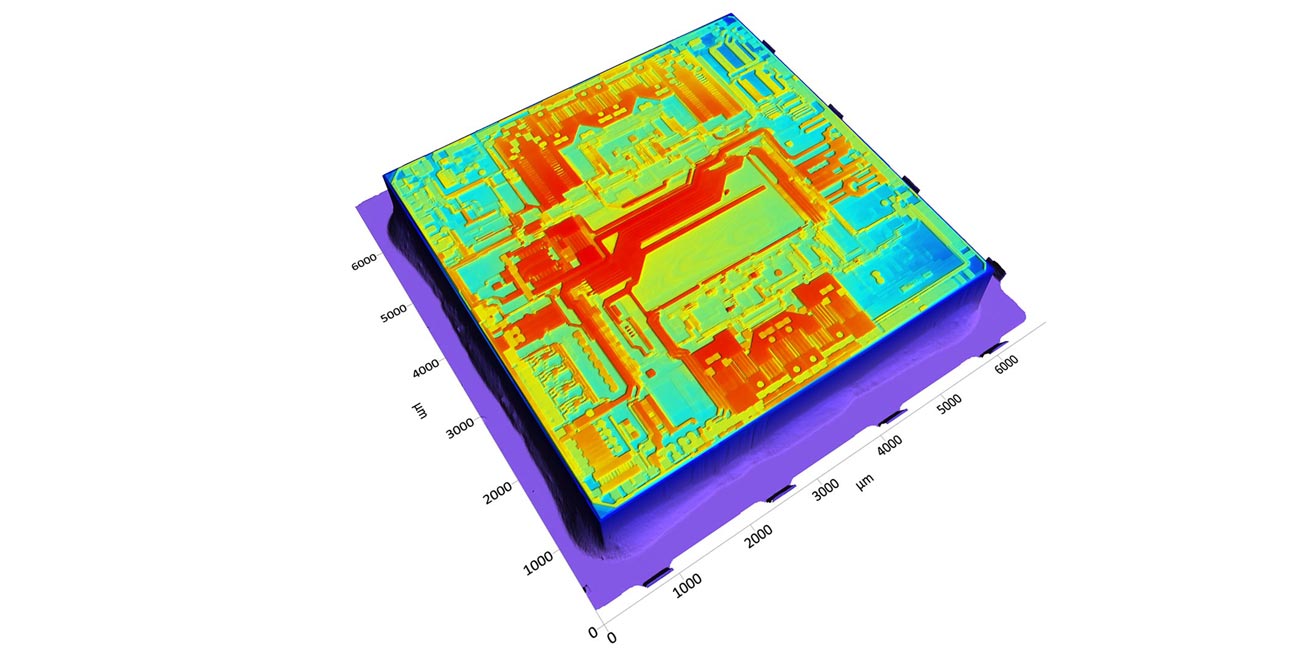
Height, Angle (Die Tilt)
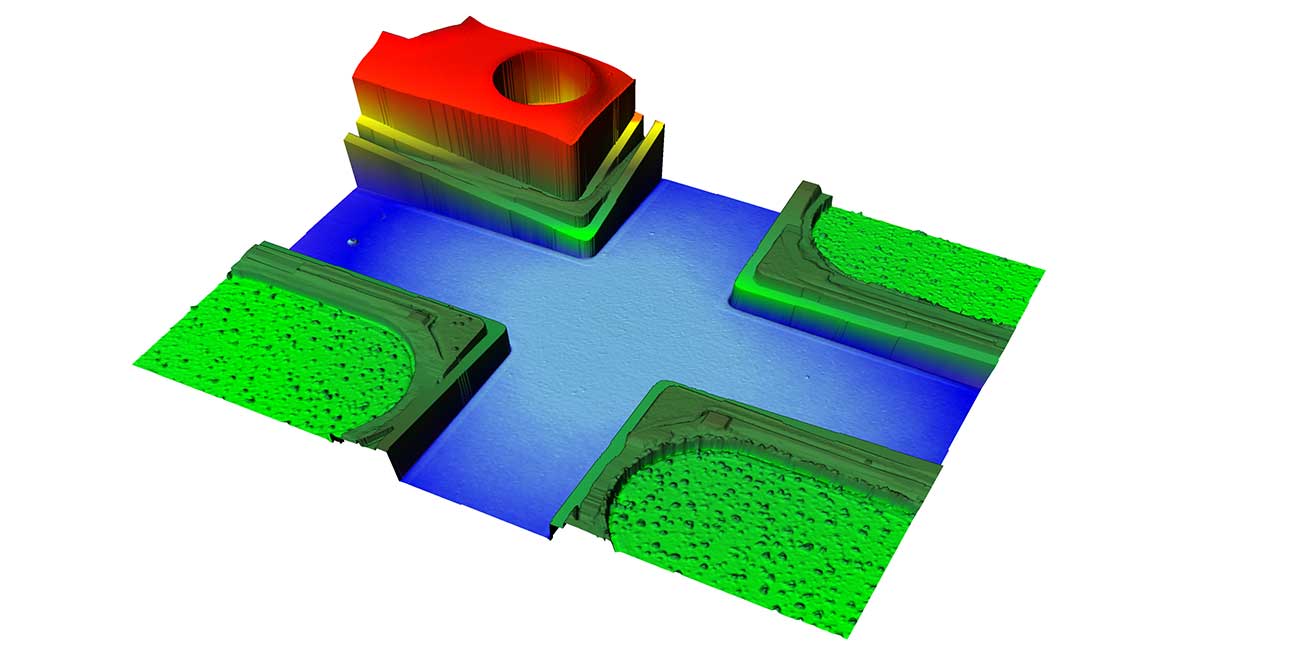
Critical Dimensions

Coplanarity on bumps, pads, connectors and more

Height, Angle (Die Tilt)
Options
The modular design of the CT-series allows for seamless expansion with a variety of upgrade options. Here’s a quick glimpse of what you can add to enhance your system’s capabilities.
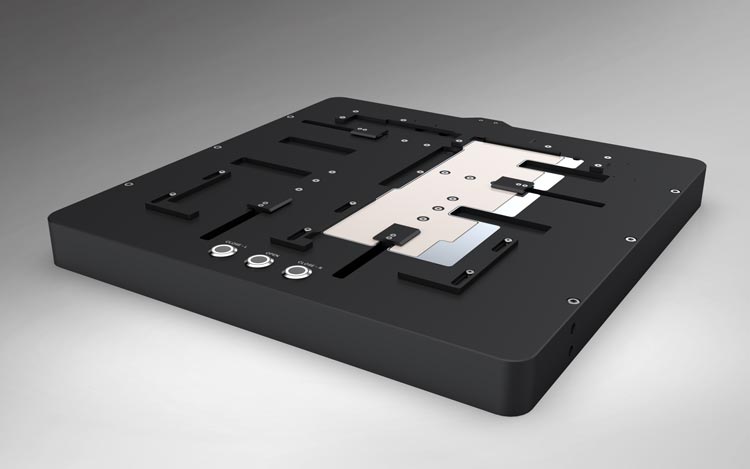
Custom Design Interfaces
We offer custom designed interfaces. E.g. the semi-automated chuck for trays and boats providing precise sample positioning, suitable for both manual and automated use.
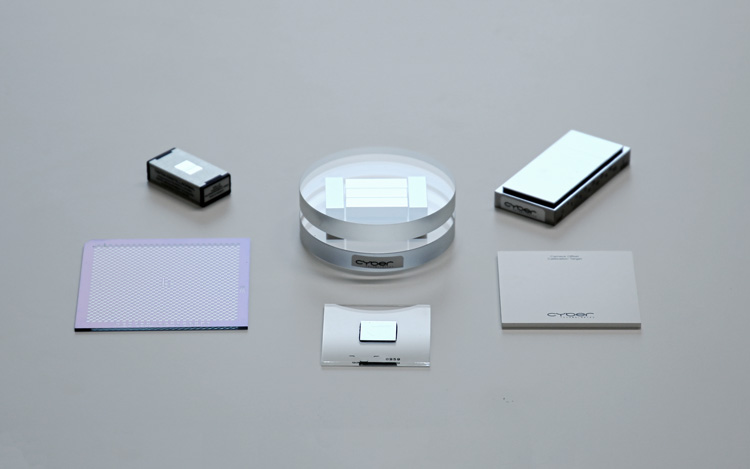
Calibration Targets
Calibrate and certify the system anytime with ease. A wide selection of calibration targets and built-in automated procedures make the process fast and easy.
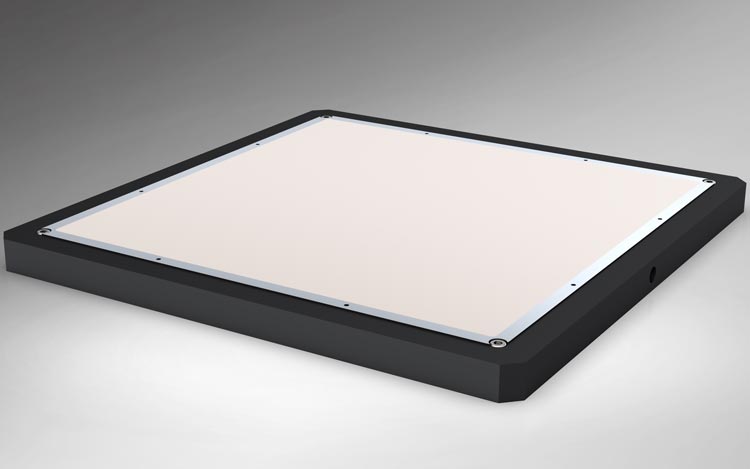
Vacuum Chuck
Our vacuum chucks for sample fixation can be controlled through our manual or automation software. They are available in several standard designs or can be fully customized to meet specific requirements.

Custom Design Interfaces
We offer custom designed interfaces. E.g. the semi-automated chuck for trays and boats providing precise sample positioning, suitable for both manual and automated use.

Calibration Targets
Calibrate and certify the system anytime with ease. A wide selection of calibration targets and built-in automated procedures make the process fast and easy.

Vacuum Chuck
Our vacuum chucks for sample fixation can be controlled through our manual or automation software. They are available in several standard designs or can be fully customized to meet specific requirements.

Custom Design Interfaces
We offer custom designed interfaces. E.g. the semi-automated chuck for trays and boats providing precise sample positioning, suitable for both manual and automated use.
Configuration Examples

CT 350 Conveyor Link
With its integrated conveyor for trays and boats the system automates sample handling, measurement and analysis — without operator interference. Powered by a high-speed chromatic confocal line sensor, it delivers results in seconds, boosting efficiency and productivity.
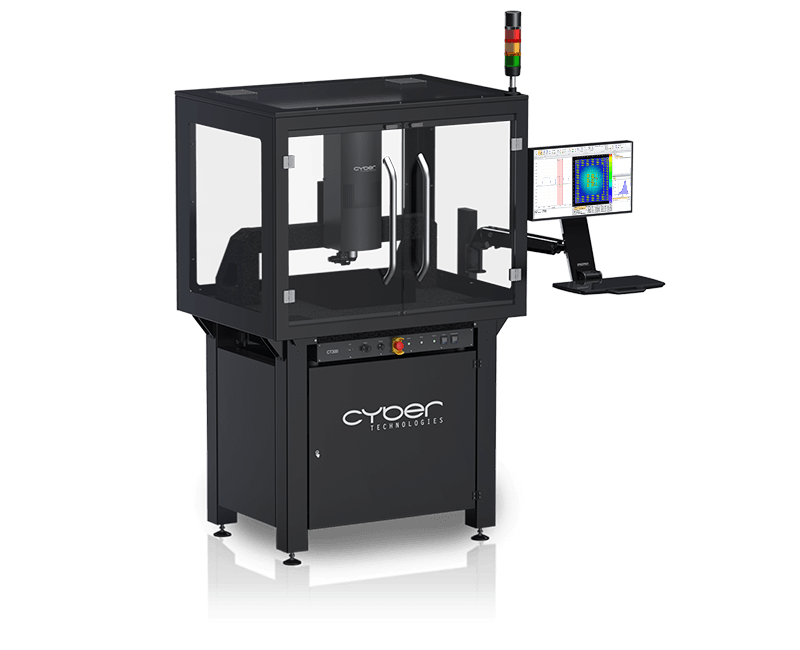
CT 300 Wafer Lift
The CT300 Wafer Lift combines a vacuum chuck with lift pins to handle wafers up to 300 mm. Designed to measure processed wafers the system is equipped with a confocal microscope and white light interferometer to measure smallest features.
General
cyberTECHNOLOGIES GmbH
Georg-Kollmannsberger-Straße 3
85386 Eching-Dietersheim
Germany